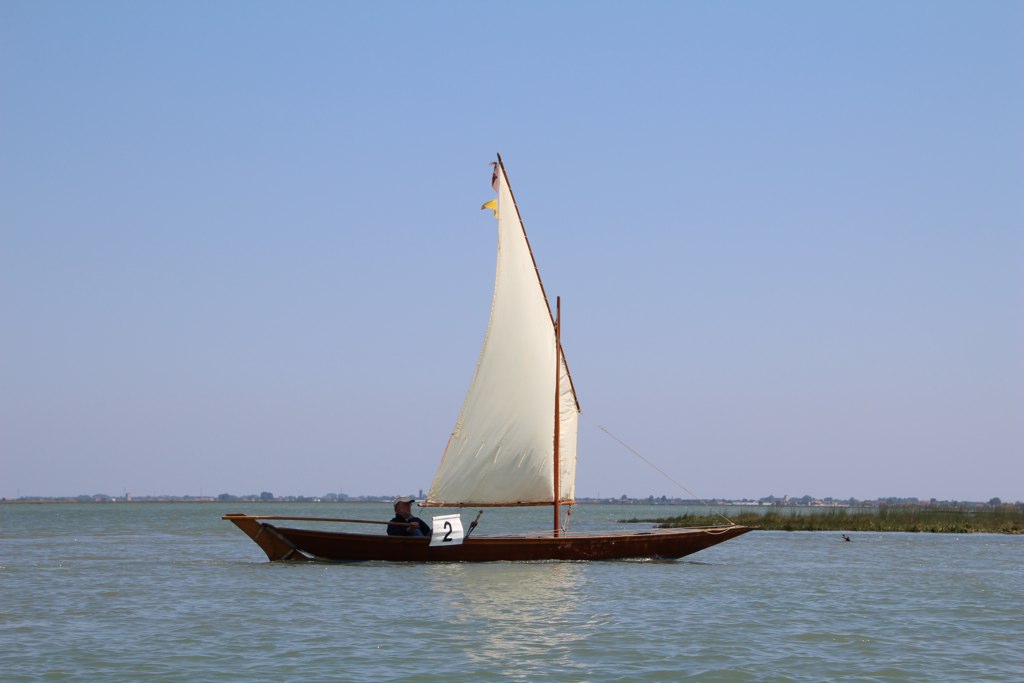
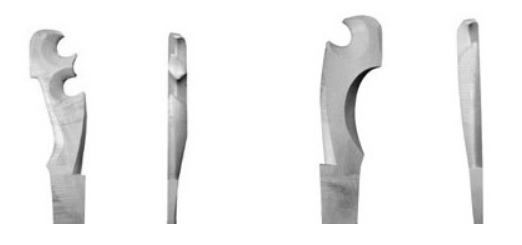
Building a traditional Venetian boat in the Basque Country /7

This week was a short one: Friday was San José (Saint Joseph), Father’s Day and national holiday in Spain.

It sort of makes sense that we wouldn’t work. After all, he’s the patron saint of all carpenters (including boatbuilders). For sure Noah would have been a much better choice, since he was an actual shipwright (Medieval depictions of him building the ark offer a wonderful representation of the tools of the trade, which haven’t changed much since then).

https://en.wikipedia.org/wiki/Noah%27s_Ark#/media/File:Nuremberg_chronicles_f_11r_1.png

But Noah was not so lucky, having made the mistake of being born before the coming of Christ. He was friend with God and saved all humanity (plus the animals, obv), but he was not a Christian and therefore is spending the rest of times in Hell. Probably forever fairing a hull that will never be fair, or sanding something for eternity… I could not thing of a more terrible torture.

Anyways, let’s not dwell on theology, we have a boat to build!

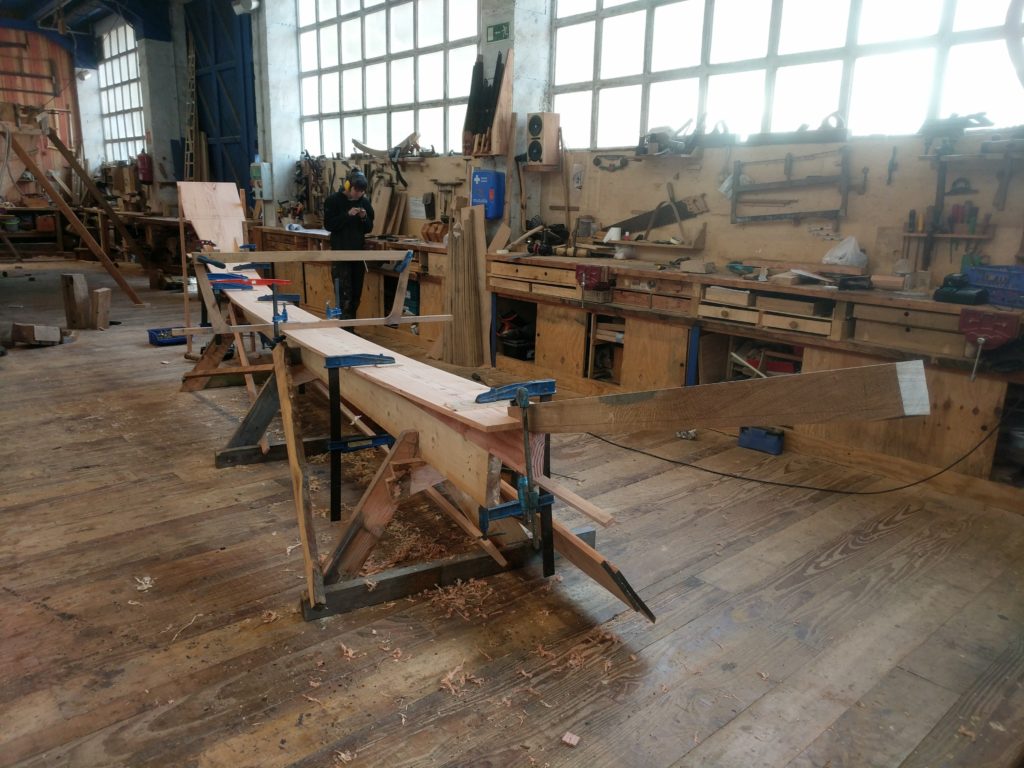
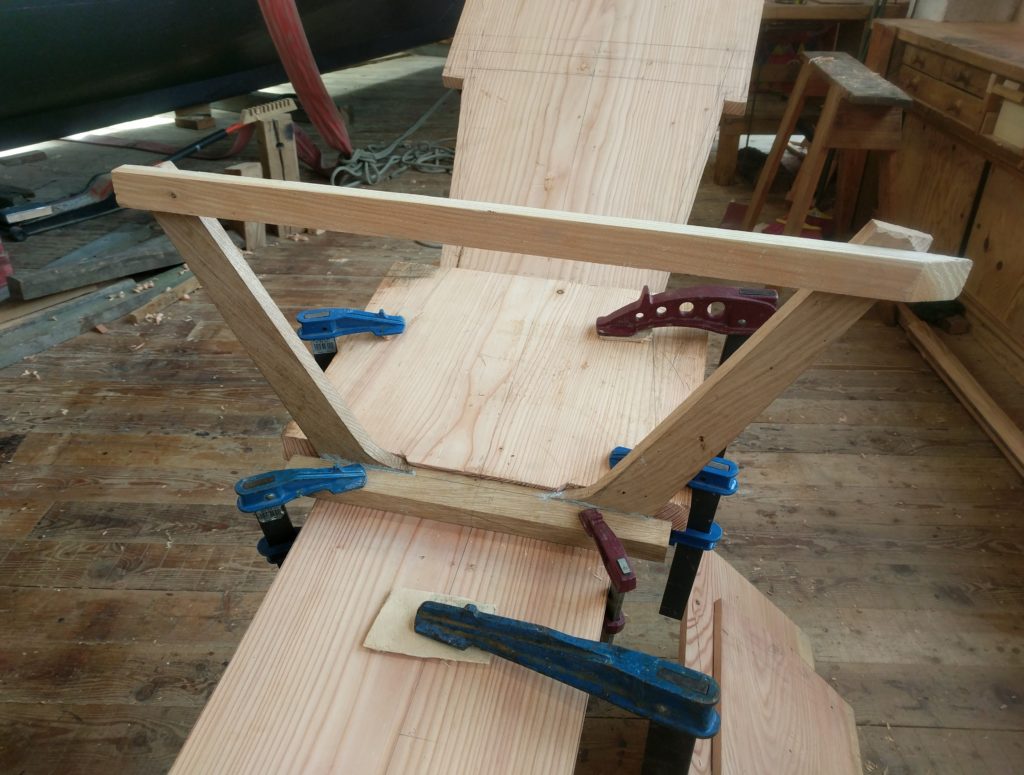
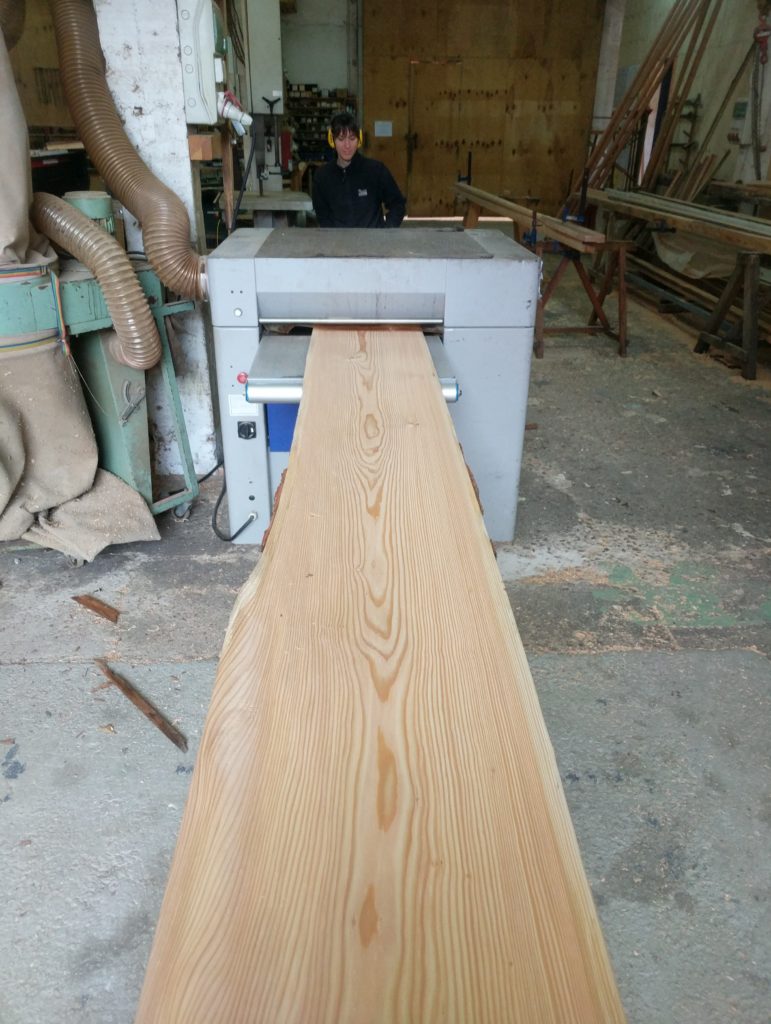
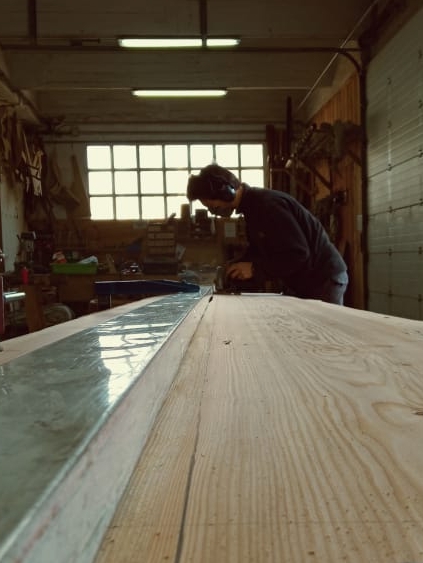
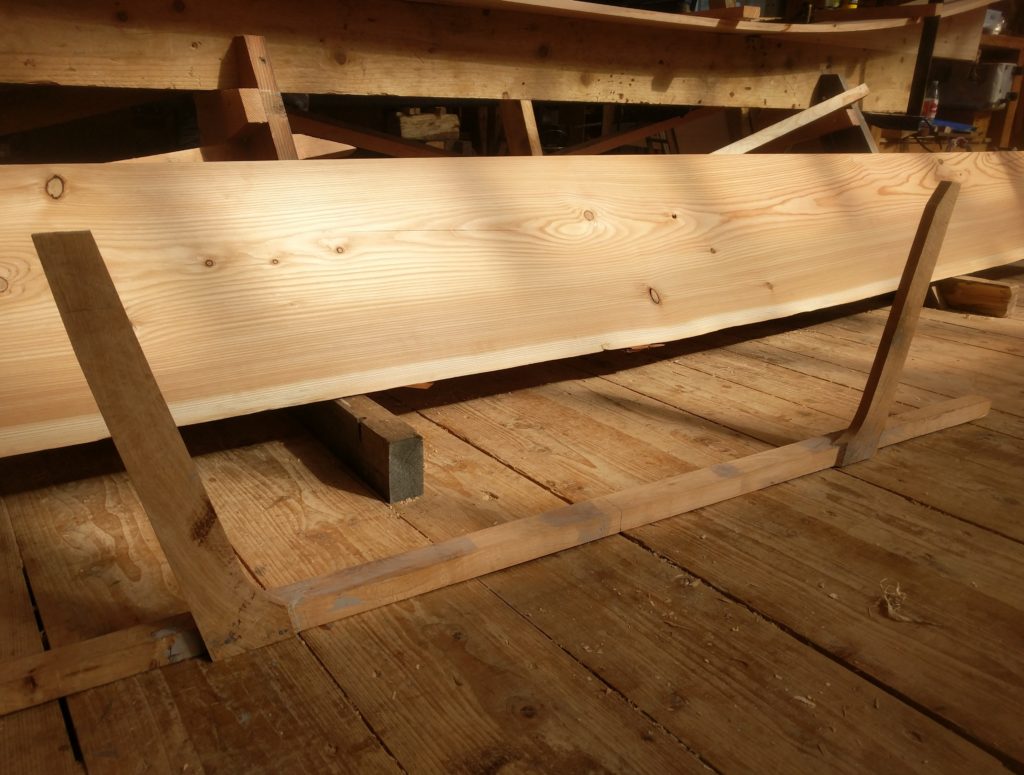
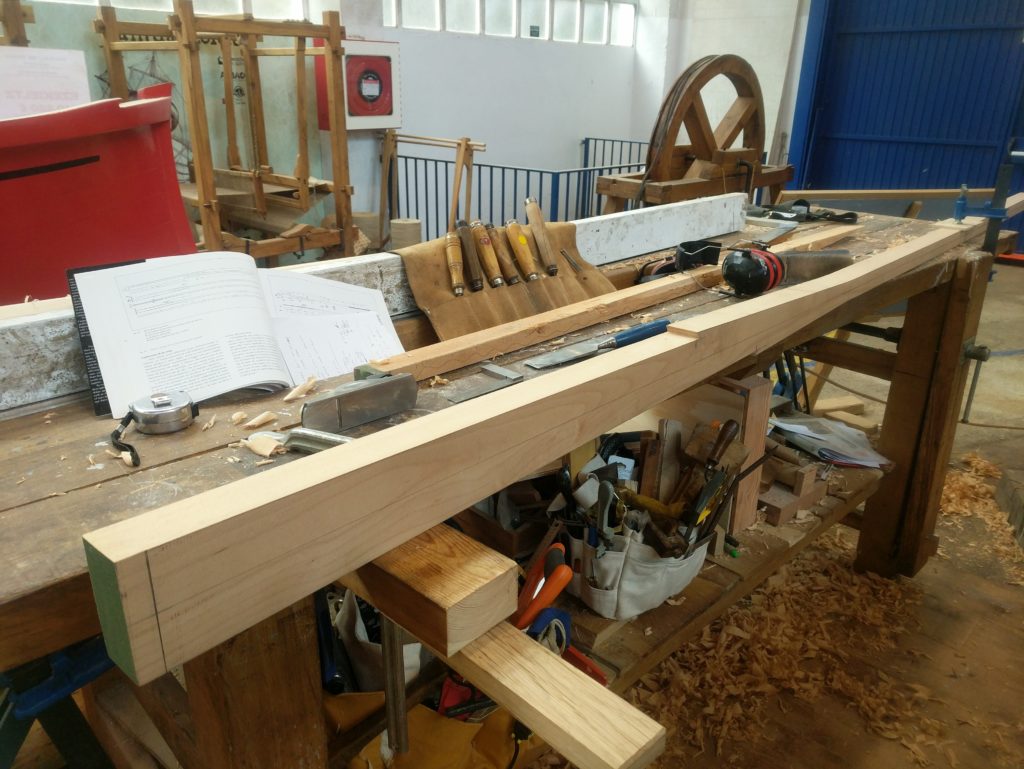
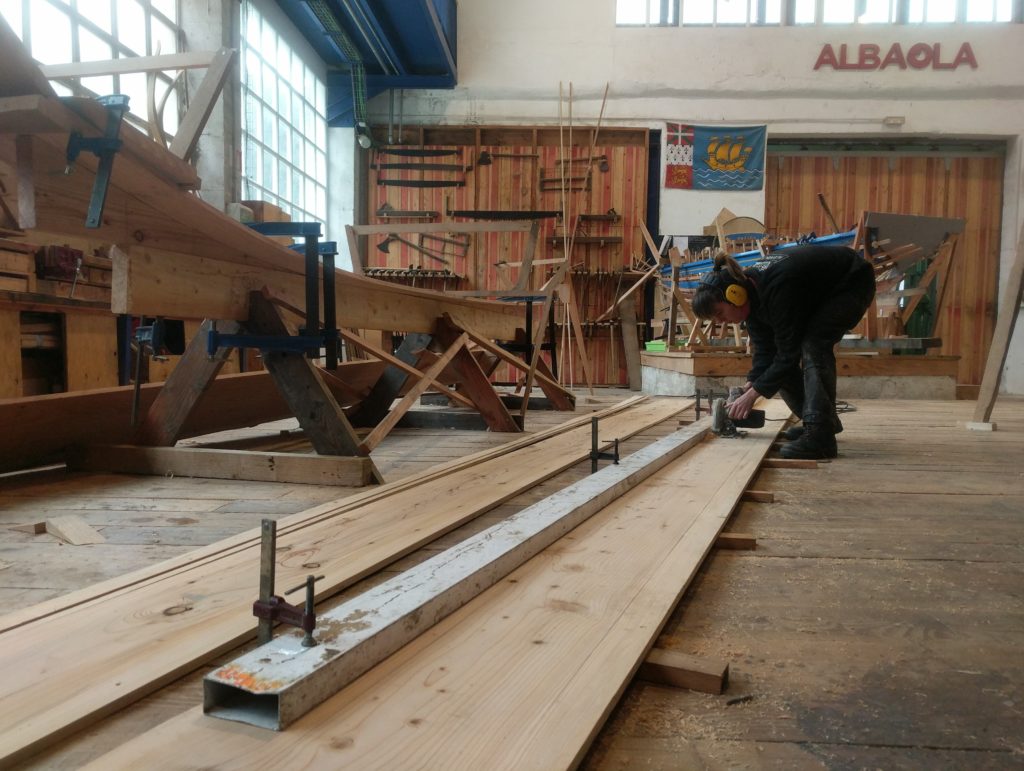
This week Ioanna has finished planing the after filler block, so that the side planks arrive nice and snug, hopefully without letting water in.
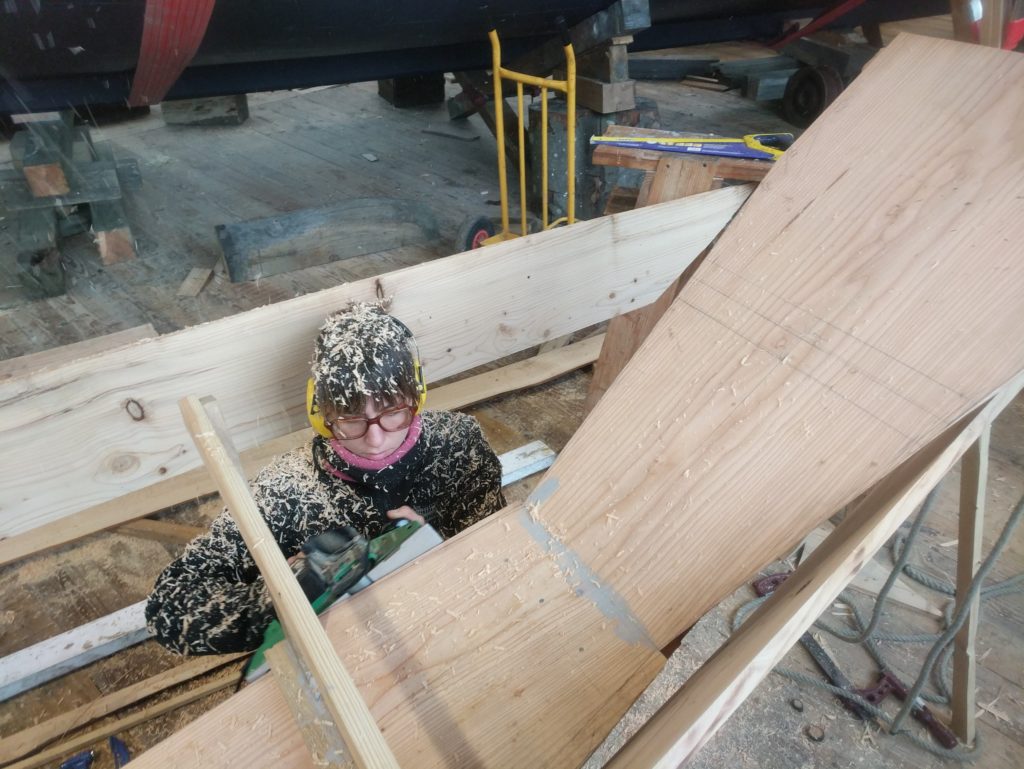
I bet Noah would have liked a power planer

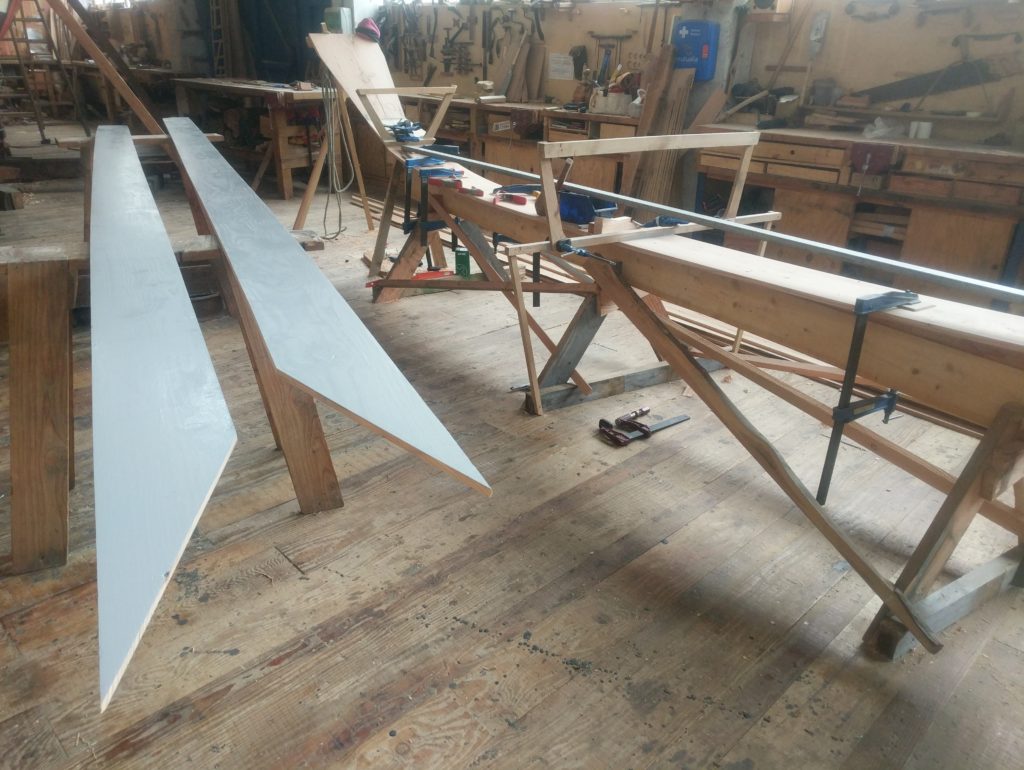
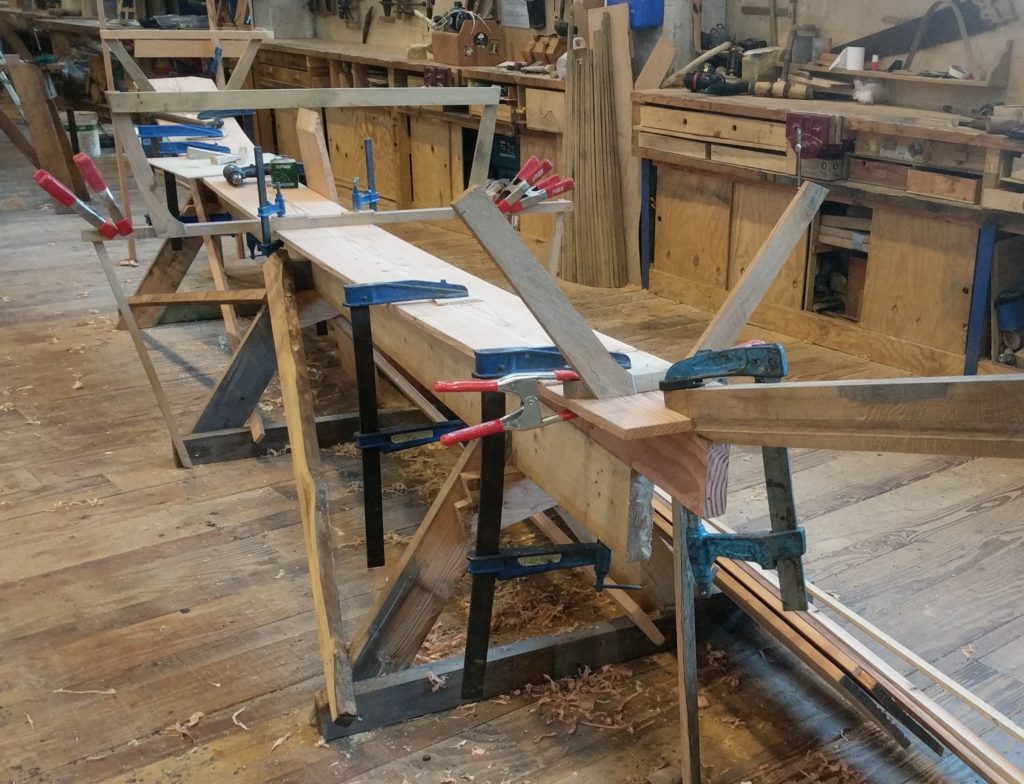
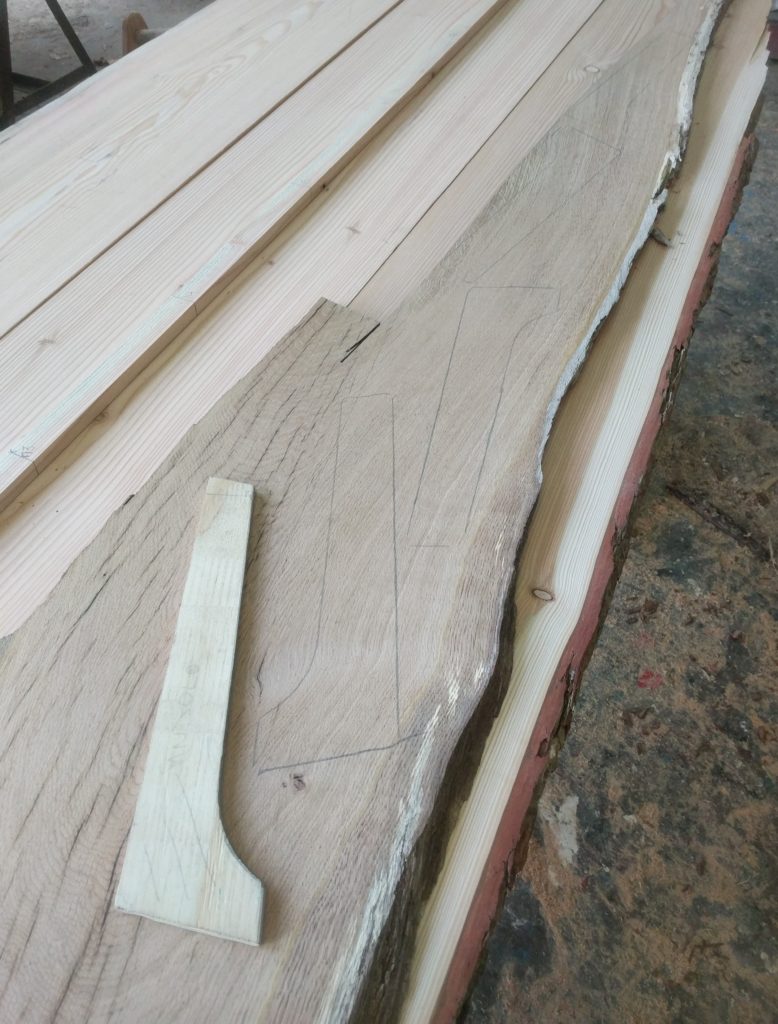
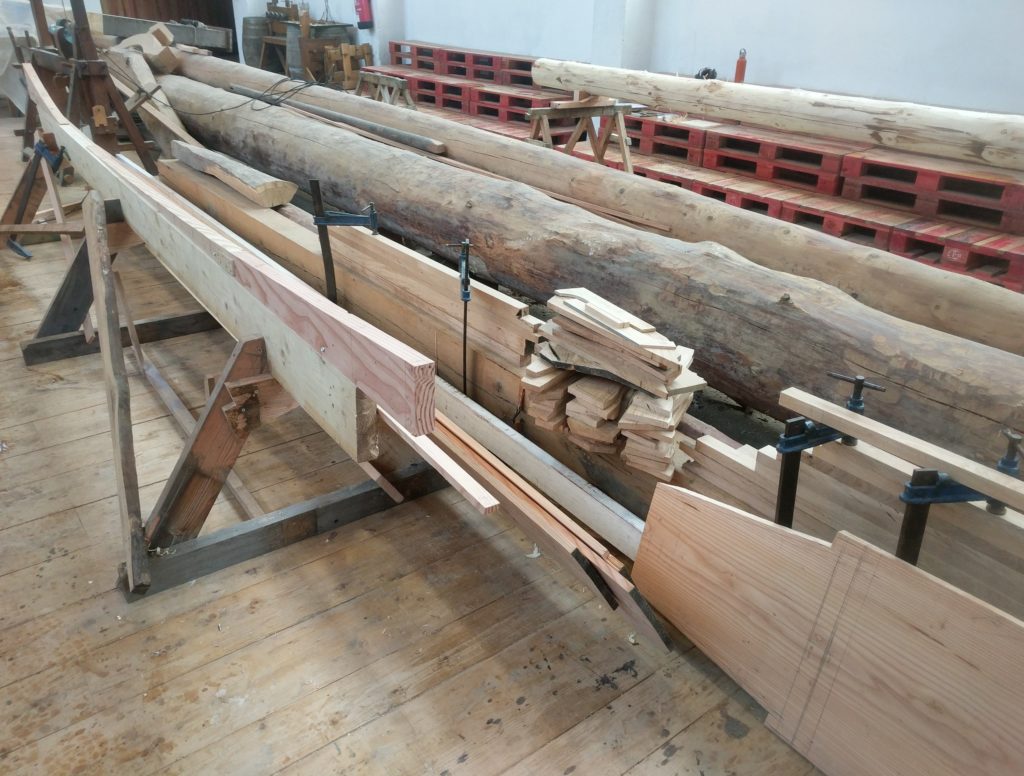
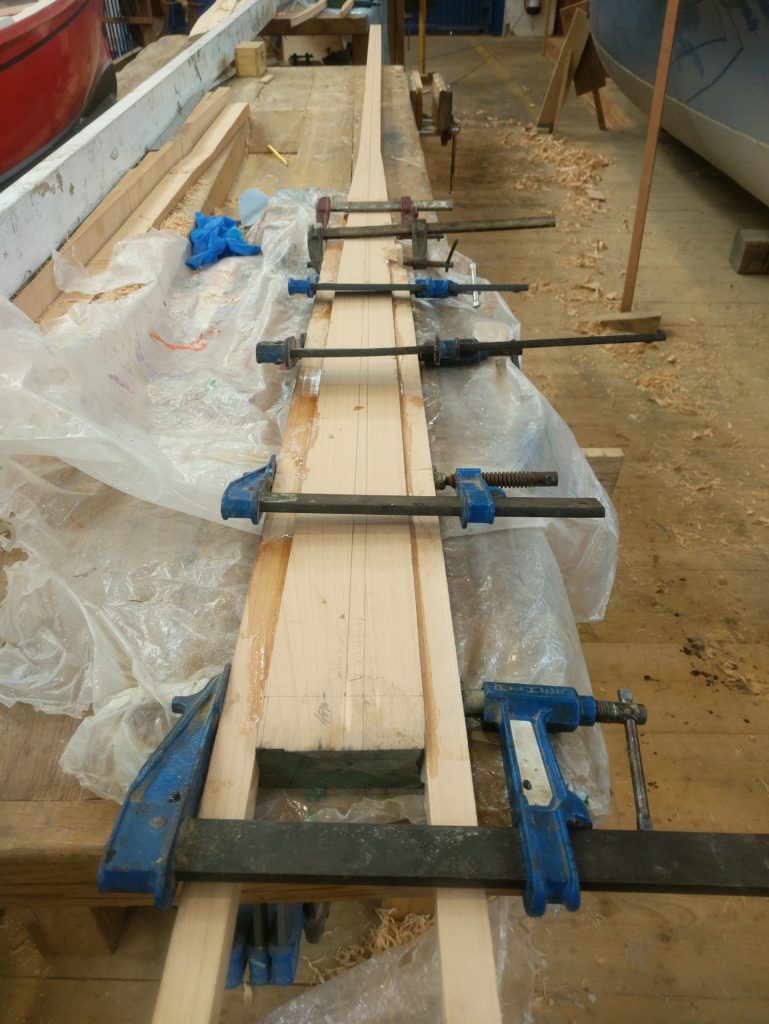
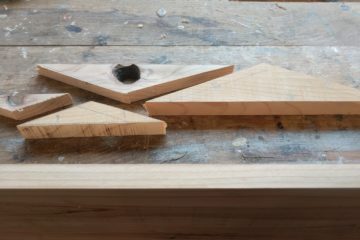
We have also cut both sheer planks at the desired width (around 20/25cm), drilled out some nasty knots and plugged them, and painted the inside with a first coat of primer. It is much easier to do it now then after they will be hanged, with all those frames installed.

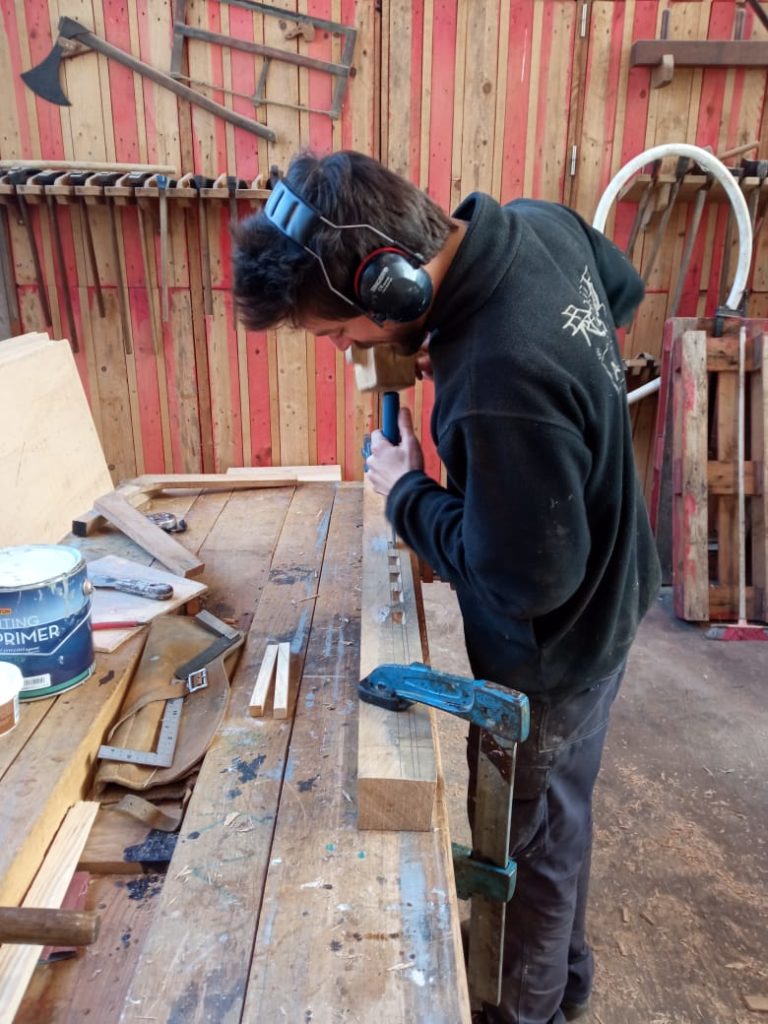
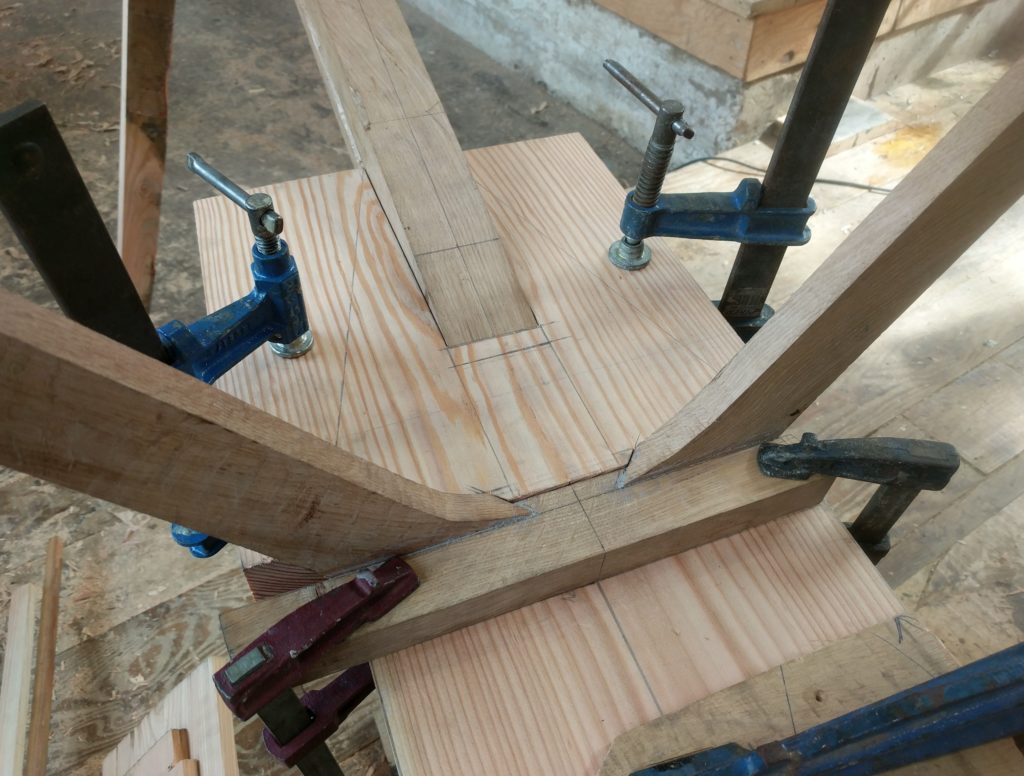
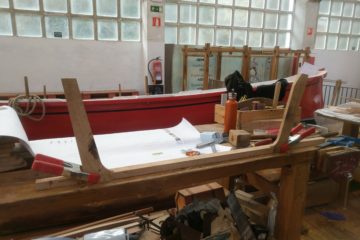
I have spent quite a lot of time trying to figure out the shape of the plank at the bow, and how they meet with the stem.

After some trial and error, and a few phone calls and pictures sent to a boatbuilder in Venice friend of mine, I have come to the conclusion that:

  • the stem was set at the wrong height;
  • the rabbet I had cut was not quite in the right position.

Also, as a bonus, I had forgotten that the edge of the plank should be cut at an angle inferior to 90°, so that it gets trapped into the stem.

Long story short: on Thursday I took off stem and forward filler block, and milled up a new one. I will be installing it next week.

This is what happens when you have never built a boat of this kind before and you don’t have a boat to copy near to you to use as reference. But it’s probably what makes it more fun. Maybe.

On a more light note, if you follow my stories on Instagram (@acqua_stanca) you already saw our new mascot, that Ioanna (@io_moutu) bought: a miniature decoy duck. The full-sized ones are called stampi in Venetian and were used when hunting in the lagoon of Venice. The boat is a s’ciopon, after all.
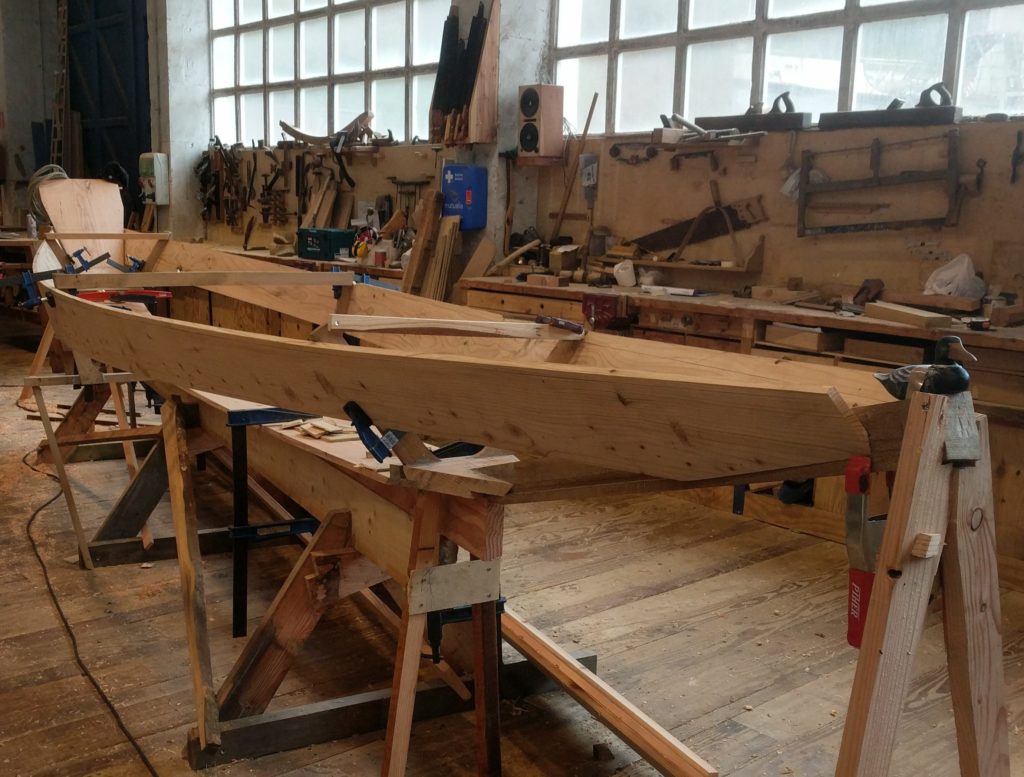
Have you got any good name suggestions? For the duckie, I mean.

Next week we’ll have a press conference to present the project to the local newspapers, let’s hope we have something nice to show them!
Building a traditional Venetian boat in the Basque Country /6

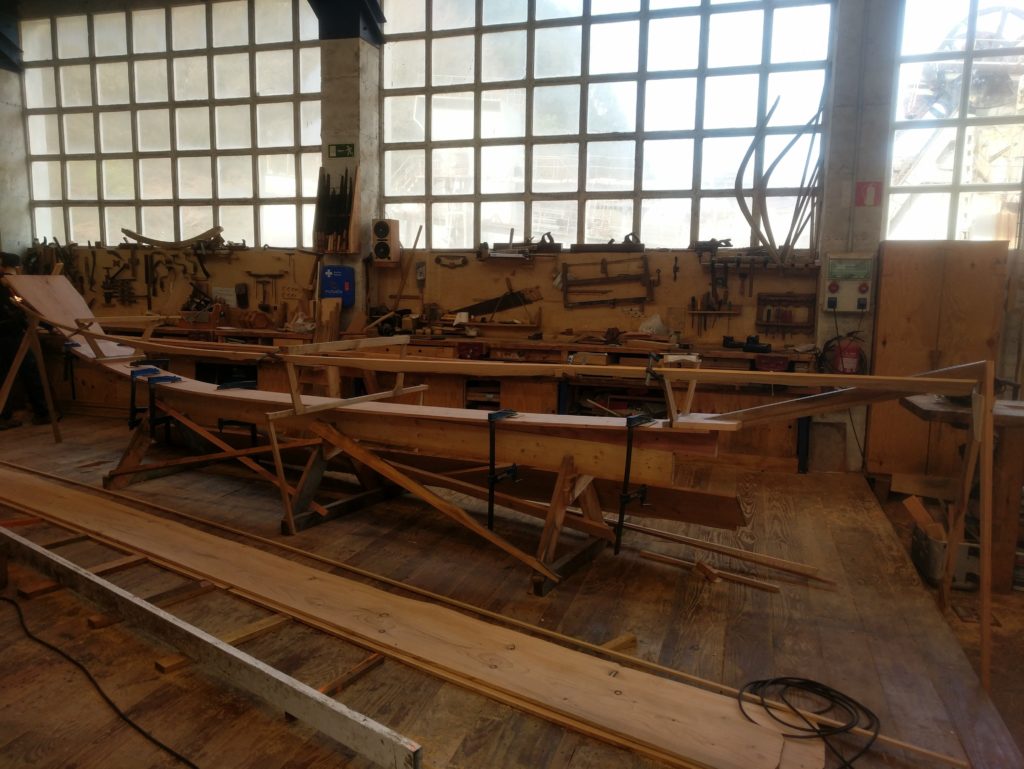
At last, the patatxe has been moved, and Ioanna and I were finally able to fasten our cantier (the strongback) and start building the sandolo for real. The countdown has officially started: let’s see how long will it take us to finish it.

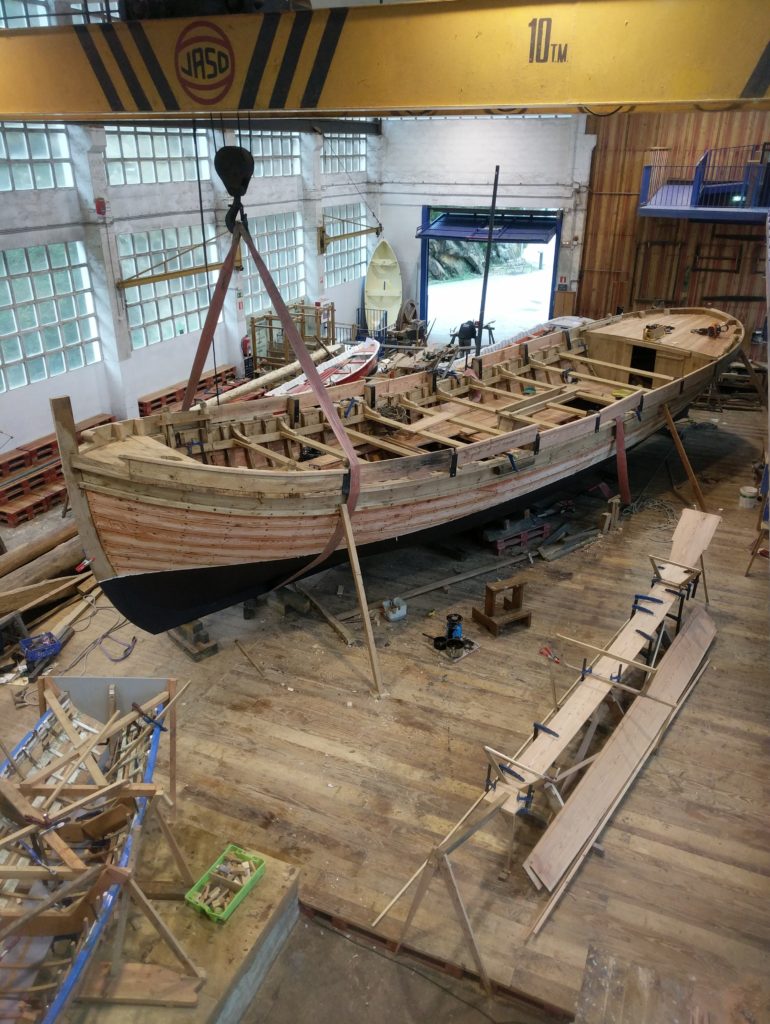
On the right, our Laguna, on the left Potxua being restored, and in the background the patatxe, still with a strap hanging from the crane.

After marking the colomba (keel-plank) with a centerline and all the frame stations, and making sure it sits level across on the whole length of the cantier, I embarked in the task of fitting the stem, while Ioanna did the same with the transom.

We chose oak for the stem because we have plenty available (a luxury we will miss after we leave the Aprendiztegi, I am sure). We didn’t have any wide oak offcuts to use as transom, so we went with larch, which would be the traditional wood choice in Venice, anyways.

Here’s a look at all the parts together for the first time

With the help of a couple battens, I traced the lines of the rabbet on the stem, and carved it with a chisel. I wasn’t really sure of the shape it would have, but it turns out it is basically a straight line. Now, that’s convenient. I left some extra material in there, you never know: we’ll probably have to adjust the bevel slightly eventually.

A Venetian boatbuilder would probably have used an adze (just like the ones seen on the wall on the left) to cut this. They aren’t called “maestri d’ascia” for nothing, after all…

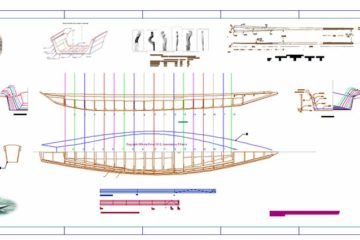
Since we are actually copying an existing s’ciopon, of which we have the exact measurements, we decided to add and extra step to the traditional construction method and place the first and last frames as well, in order to get a more precise idea of the shape of the boat and, most importantly, height of the sheer.

Frame number 1 and frame number 18 in place, together with the central one (number 10). Notice the rabbet on the stem as well.

Once the frames were in place, the following step has been fitting two filler blocks. These have a triple function:

  • they give some extra material for the nails to bite into (In these small portions of the boat converge all the side and bottom planks, with their fastenings);
  • they help connect transom and stem to the keel plank (more nails);
  • they displace water that would otherwise collect into the bilge, in places under the aft and fore decks, i.e. not always easy to bail and with lack of air circulation = prone to rot.

Once we had everything fitted, we bedded the parts with a mix of linseed-oil based putty and primer (and some blood, because accidents happen). We then nailed everything into place and we were ready for the next step: hanging the sheer planks.

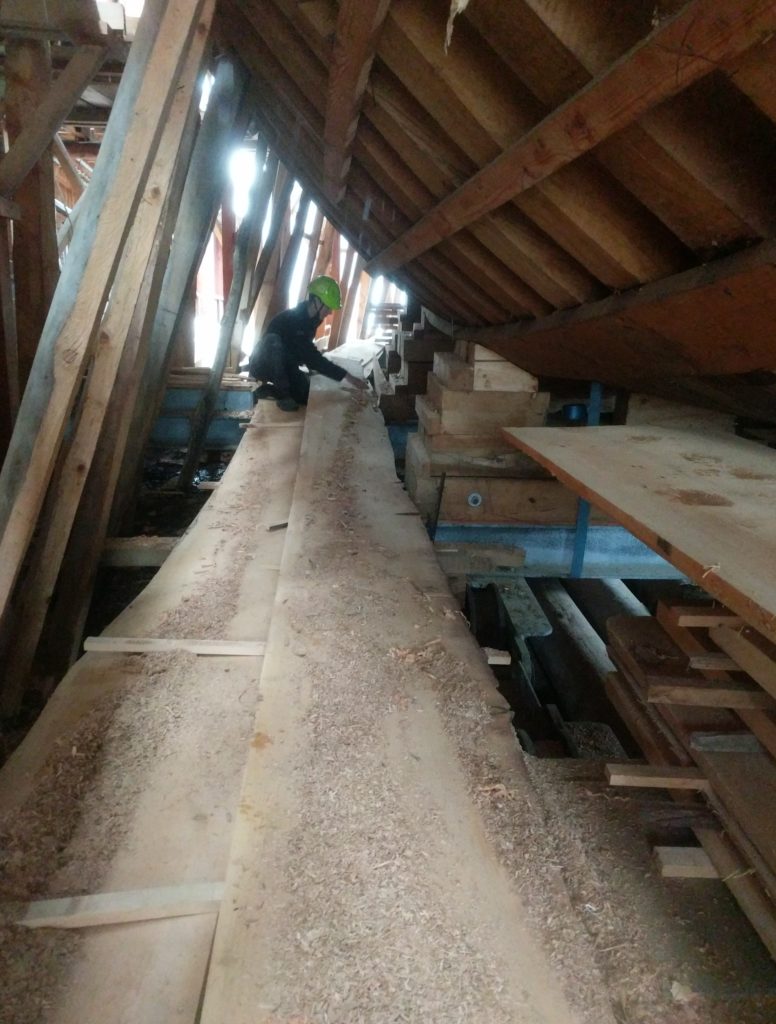
Well, first of all we actually had to go and find suitable planks. Our larch stock is only six meter long, so we considered scarfing two planks together in order to reach the 6,30m (more or less) we needed. But luckily, someone remembered of a pile of cypress planks, which were the left over from a boat we had build in the school two years ago.

Dry stock usually ends up under the belly of the San Juan, the replica of a 16th Century Basque whaler sunk off the coast of Labrador

Obviously the planks that were left were full of dead knots and spikes, but since they are very wide and we only need planks of around 25cm width, we probably found something good enough for us.

Here they are, all planed down to 1,6cm and waiting to be cut and set up next week

The smell of cypress when you cut it is amazing!
Building a traditional Venetian boat in the Basque Country /5

We have a name! I mean, Ioanna and I obviously already did, but now the sandolo has officially a name, too.

Last year, I was reading a book on boatbuilding (not that I read much else lately). I’m not quite sure if it was “From Tree to Sea” by Ted Frost https://openlibrary.org/books/OL22307584M/From_Tree_to_Sea or “How to Build a Wooden Boat”, by Bud McIntosh https://www.woodenboatstore.com/products/how-to-build-a-wooden-boat). Both are very much recommended, by the way.

Anyhow, the author wrote that one should avoid to pronounce the name of a boat before she’s launched, since the evil spirits would be able to follow her in her voyages, or something like that. But luckily enough for us, bad spirits can’t read apparently. So there is no problem in writing the name of a boat before she’s launched.

Therefore I’m happy to announce that our little sandolo will be called “Laguna”.

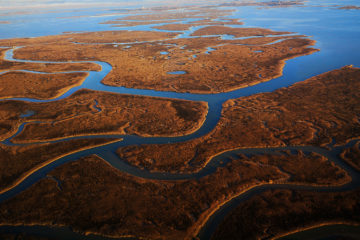
“Laguna” means “lagoon” in Italian. The lagoon of Venice is justly famous for its beauty and is actually part of the UNESCO site comprehending the city of Venice: http://whc.unesco.org/en/list/394

It is because of its being build in such a place that Venice became the maritime power that we know. And it is because of its being surrounded by water that Venice developed so many different kinds of boats.

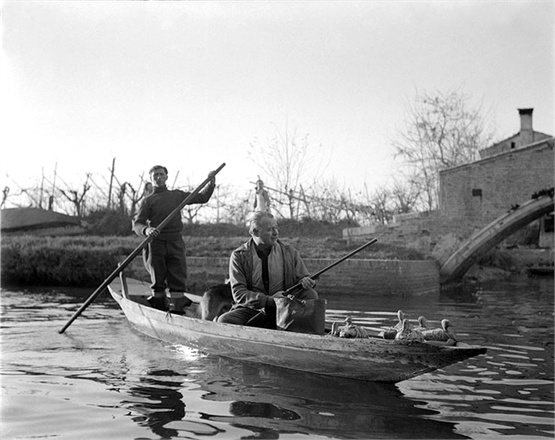
Specifically, if you remember from my previous posts, the sandolo s’ciopon was used in the past especially for hunting out of the city, in the lagoon.

Island of Torcello, 1948 – Hemingway on a hunting trip.
© Graziano Arici Archives, Venice.

But I also wanted the name to reflect the fact that the boat is going to be built in the Basque Country. For a fortuitous event, “laguna” also means “friend” in Euskara (https://en.wikipedia.org/wiki/Basque_language).

What better name to seal the friendship between Venice and Pasaia (home to Albaola) that this projects wants to symbolize?

Naming a boat is probably the most difficult thing to do, after naming your child, but I think we did good here. See you soon, Laguna!

Building a traditional Venetian boat in the Basque Country /4

Another week passed by, and still there is no space in the workshop for us. But worry not: we have been promised a space in the workshop for next monday. Until then we cannot fasten the strongback (cantier) to the floor and actually start building.

There were, however, a lot of things that we could do this week. Most important of all, milling up the wood to the dimensions of the parts we will need.

Ioanna in action with the thickness planer

First things first: a boat would not float without a bottom. The flat bottom of our sandolo will be made out of three very wide larch planks (about 32 cm each), planed down to 1.8 cm thick.

A picture of yours truly while joining two of the planks with a circular saw

Moving up, we needed frames. Lots of ‘em. I believe 38 in total.

A plywood pattern comes in handy

Keeping in mind to leave enough material for the changing bevel of the frames, we used a pattern of the central frame (maestra) to mark the wood to cut.

Since we don’t usually work with such small boats, we tried to take advantage of leftover oak planks, planed down to just 1.8 cm.

Floor timbers where the easiest part to source. There are 18 of them, but the shortest is only about 30 cm long and the longest slightly more than a meter. They all are 4.2 cm wide and 3 cm thick. In Venice they would be in many cases made of larch, especially for such a small (and cheap) boats. We have an abundance of oak, so we’ll give her some extra strength.

Note the luxury of curved grain on the left frame. In the background, a bottom plank, and a sneak peek of the strongback

We then assembled the main frame (that we’ll need next week to hang the sheer planks). The floor timber has two notches to accommodate about two thirds of each frame, in order to prevent it from moving.

Nowadays boats in Venice are mainly fastened with stainless steel screws, but we are building this s’ciopon the old way, therefore we fastened the three parts together with galvanised nails.

Ioanna also started the transom, and I tried to figure out how the stem is going to be shaped. More on that next week, when we would like to install them on the strongback.

Ikea’s sändølö kit, with some random trunks for masts in the background

Building a traditional Venetian boat in the Basque Country /3

Everything is going according to plan: after the forcole of last week, this week we made remi, the oars.

We couldn’t use Basque oars, of which we have aplenty obviously, because they are not the right shape and dimensions. After all, the Venetian rowing style is so inherently different: standing and facing forward, the rower needs a much lighter and slender oar.

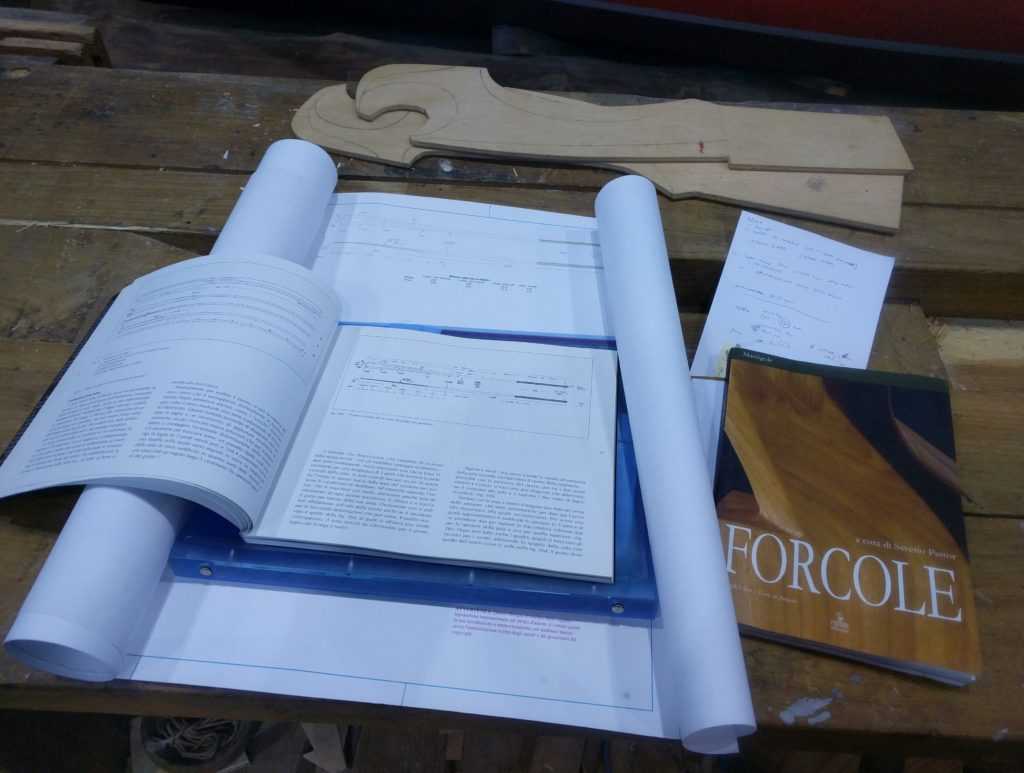
Again, a precious source of information was Gilberto Penzo’s book on forcole, oars and voga veneta. In this pic you can also see Saverio Pastor’s book on forcole, that we used last week.

In Venice, the artisan making oars is the same one making the oarlocks. Actually, it is called remer, i.e. oar-maker.

Saverio Pastor in action with oars and oarlocks
https://www.youtube.com/watch?v=rQ3yA_PxWbk

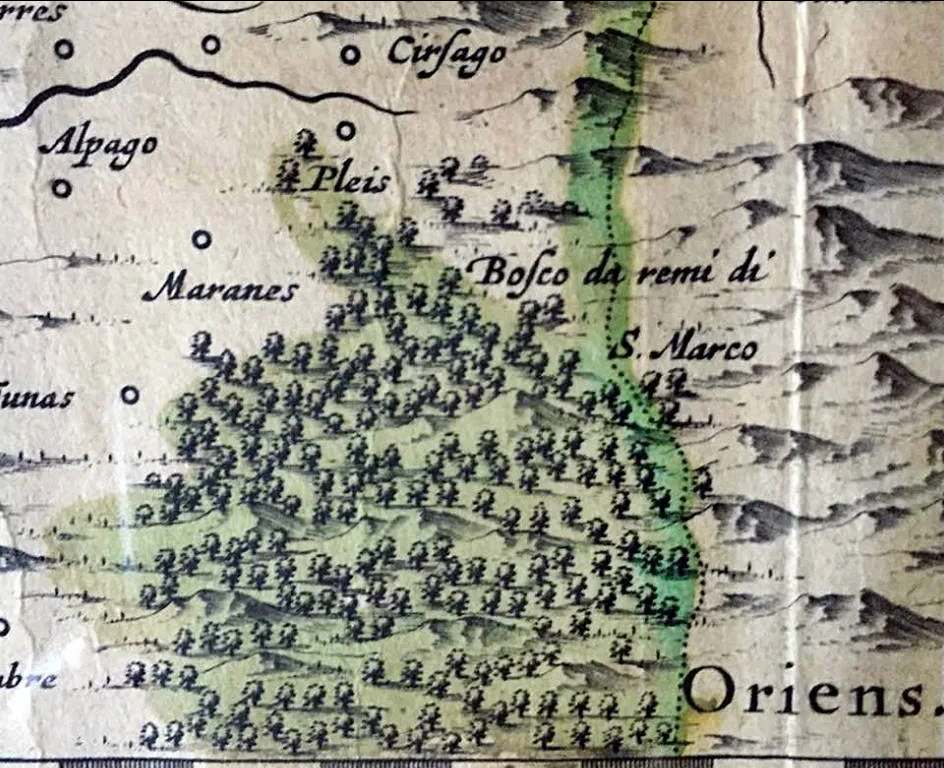
Since 1500, Venice made the oars for its galleys out of beech, sourced in the Cansiglio forests, on the Alps (https://en.wikipedia.org/wiki/Cansiglio).

“Oar woods of Saint Mark” gives a clear indication of what this forest was destined for. https://www.venetostoria.com/?p=1644

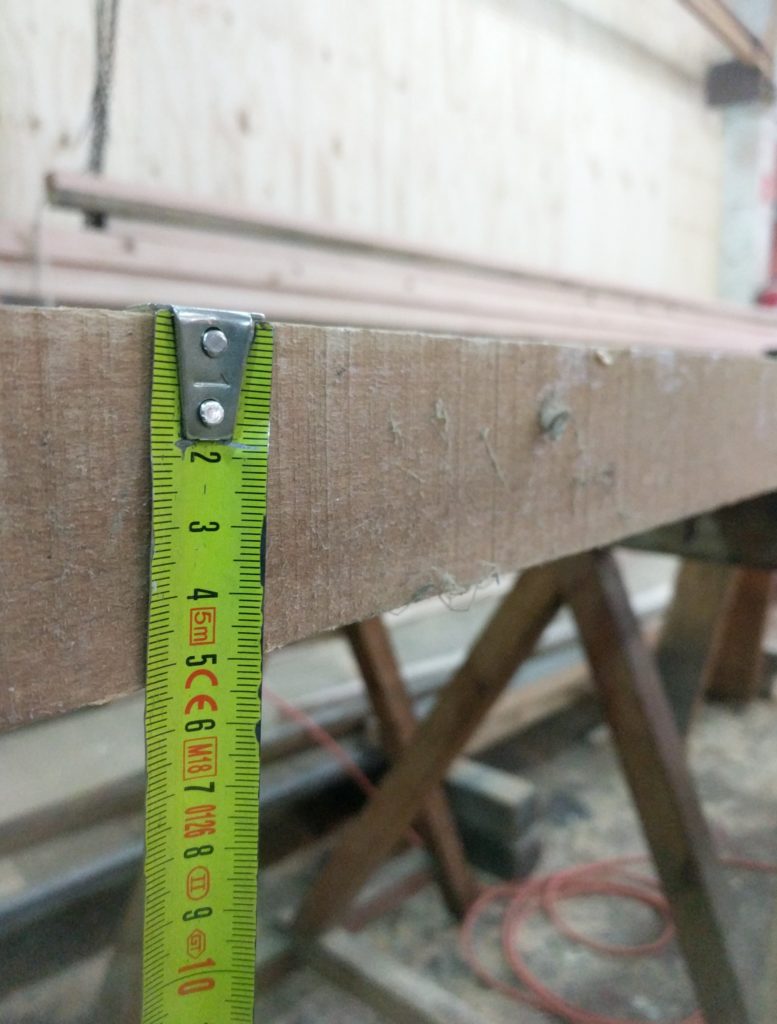
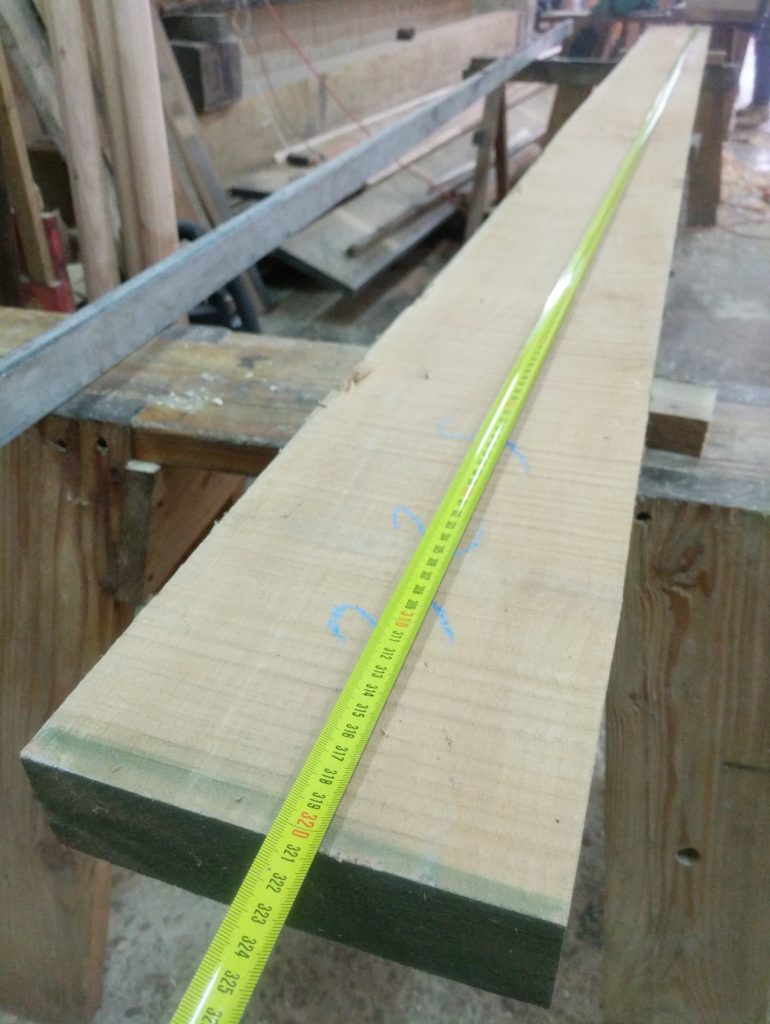
Even though modern oars in Venice are made with a variety of different kinds of wood (with a preference for the exotic ramin for its straight and clear bole: https://en.wikipedia.org/wiki/Gonystylus), we decided to go for the traditional material, and started out with a single plank of kiln-dried beech (320x19x5cm).

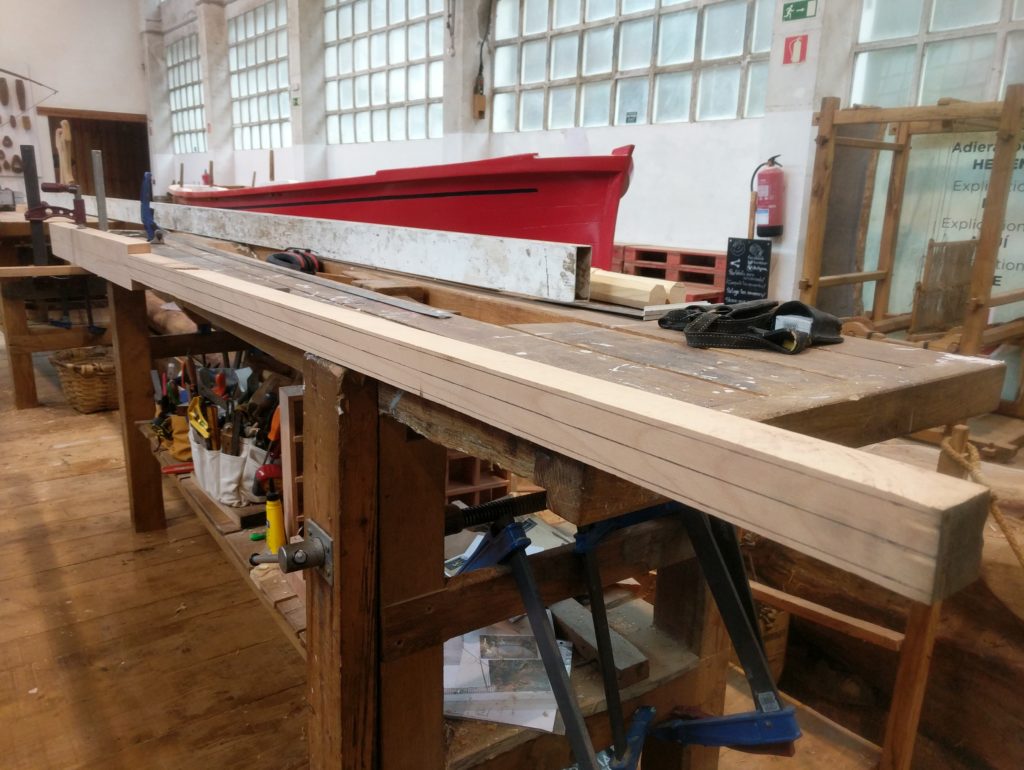
Following step-by-step the process detailed in Gilberto’s book (which, by the way, is written in both Italian and English, and available here: http://www.veniceboats.com/it-pubblicazioni-catalogo-libri-forcole.htm) we marked out and cut the two oars.

You obviously always want to leave some margins when you do your cutting.

After planing the sides to the wanted dimensions, we cut the notches on the sides of the blade at 45°, and glued on the off-cuts we saved from the initial cutting at the band saw.

These side-strips have different purposes: their different lenghts indicate if the oar is for port or starboard (the long strip always faces forward), and in the case of fir oars, they are still made of beech, helping protect the thin blade from accidental hits. This is a common occurrence, in a city with narrow canals surrounded by brick-and-stone walls.

After the epoxy had cured, the shaping begun. The blade is asymmetrical in many ways: first of all, the tip raises from the horizontal line of the loom, in order to move more water. This is much more evident on modern scoop-oars, but that’s basically the same principle.

Secondly, the blade is rounded on the bottom, and has a spine on the top. This reinforces the blade, as much as folding a sheet of paper in half and then holding it as an inverted V makes it possible to keep it horizontal, without collapsing under its own weight.

Lastly, this spine is itself not centered on the blade, but more towards aft. This makes the center of gravity of the oar move aft as well, helping the rower with the peculiar movement Venetian voga requires.

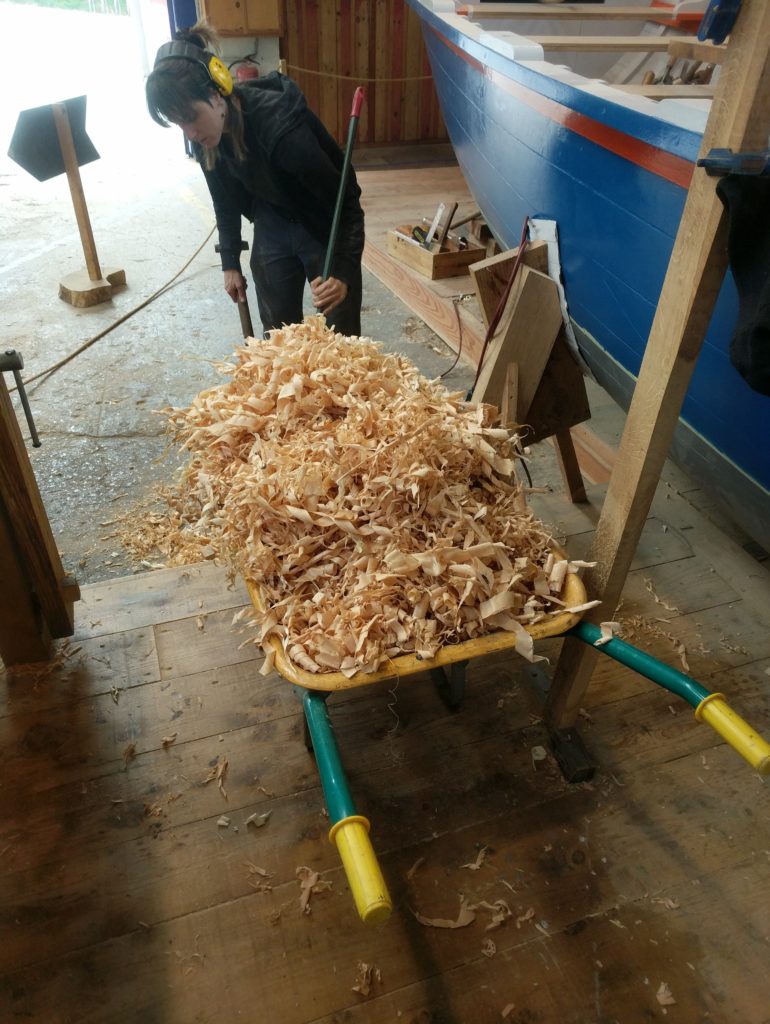
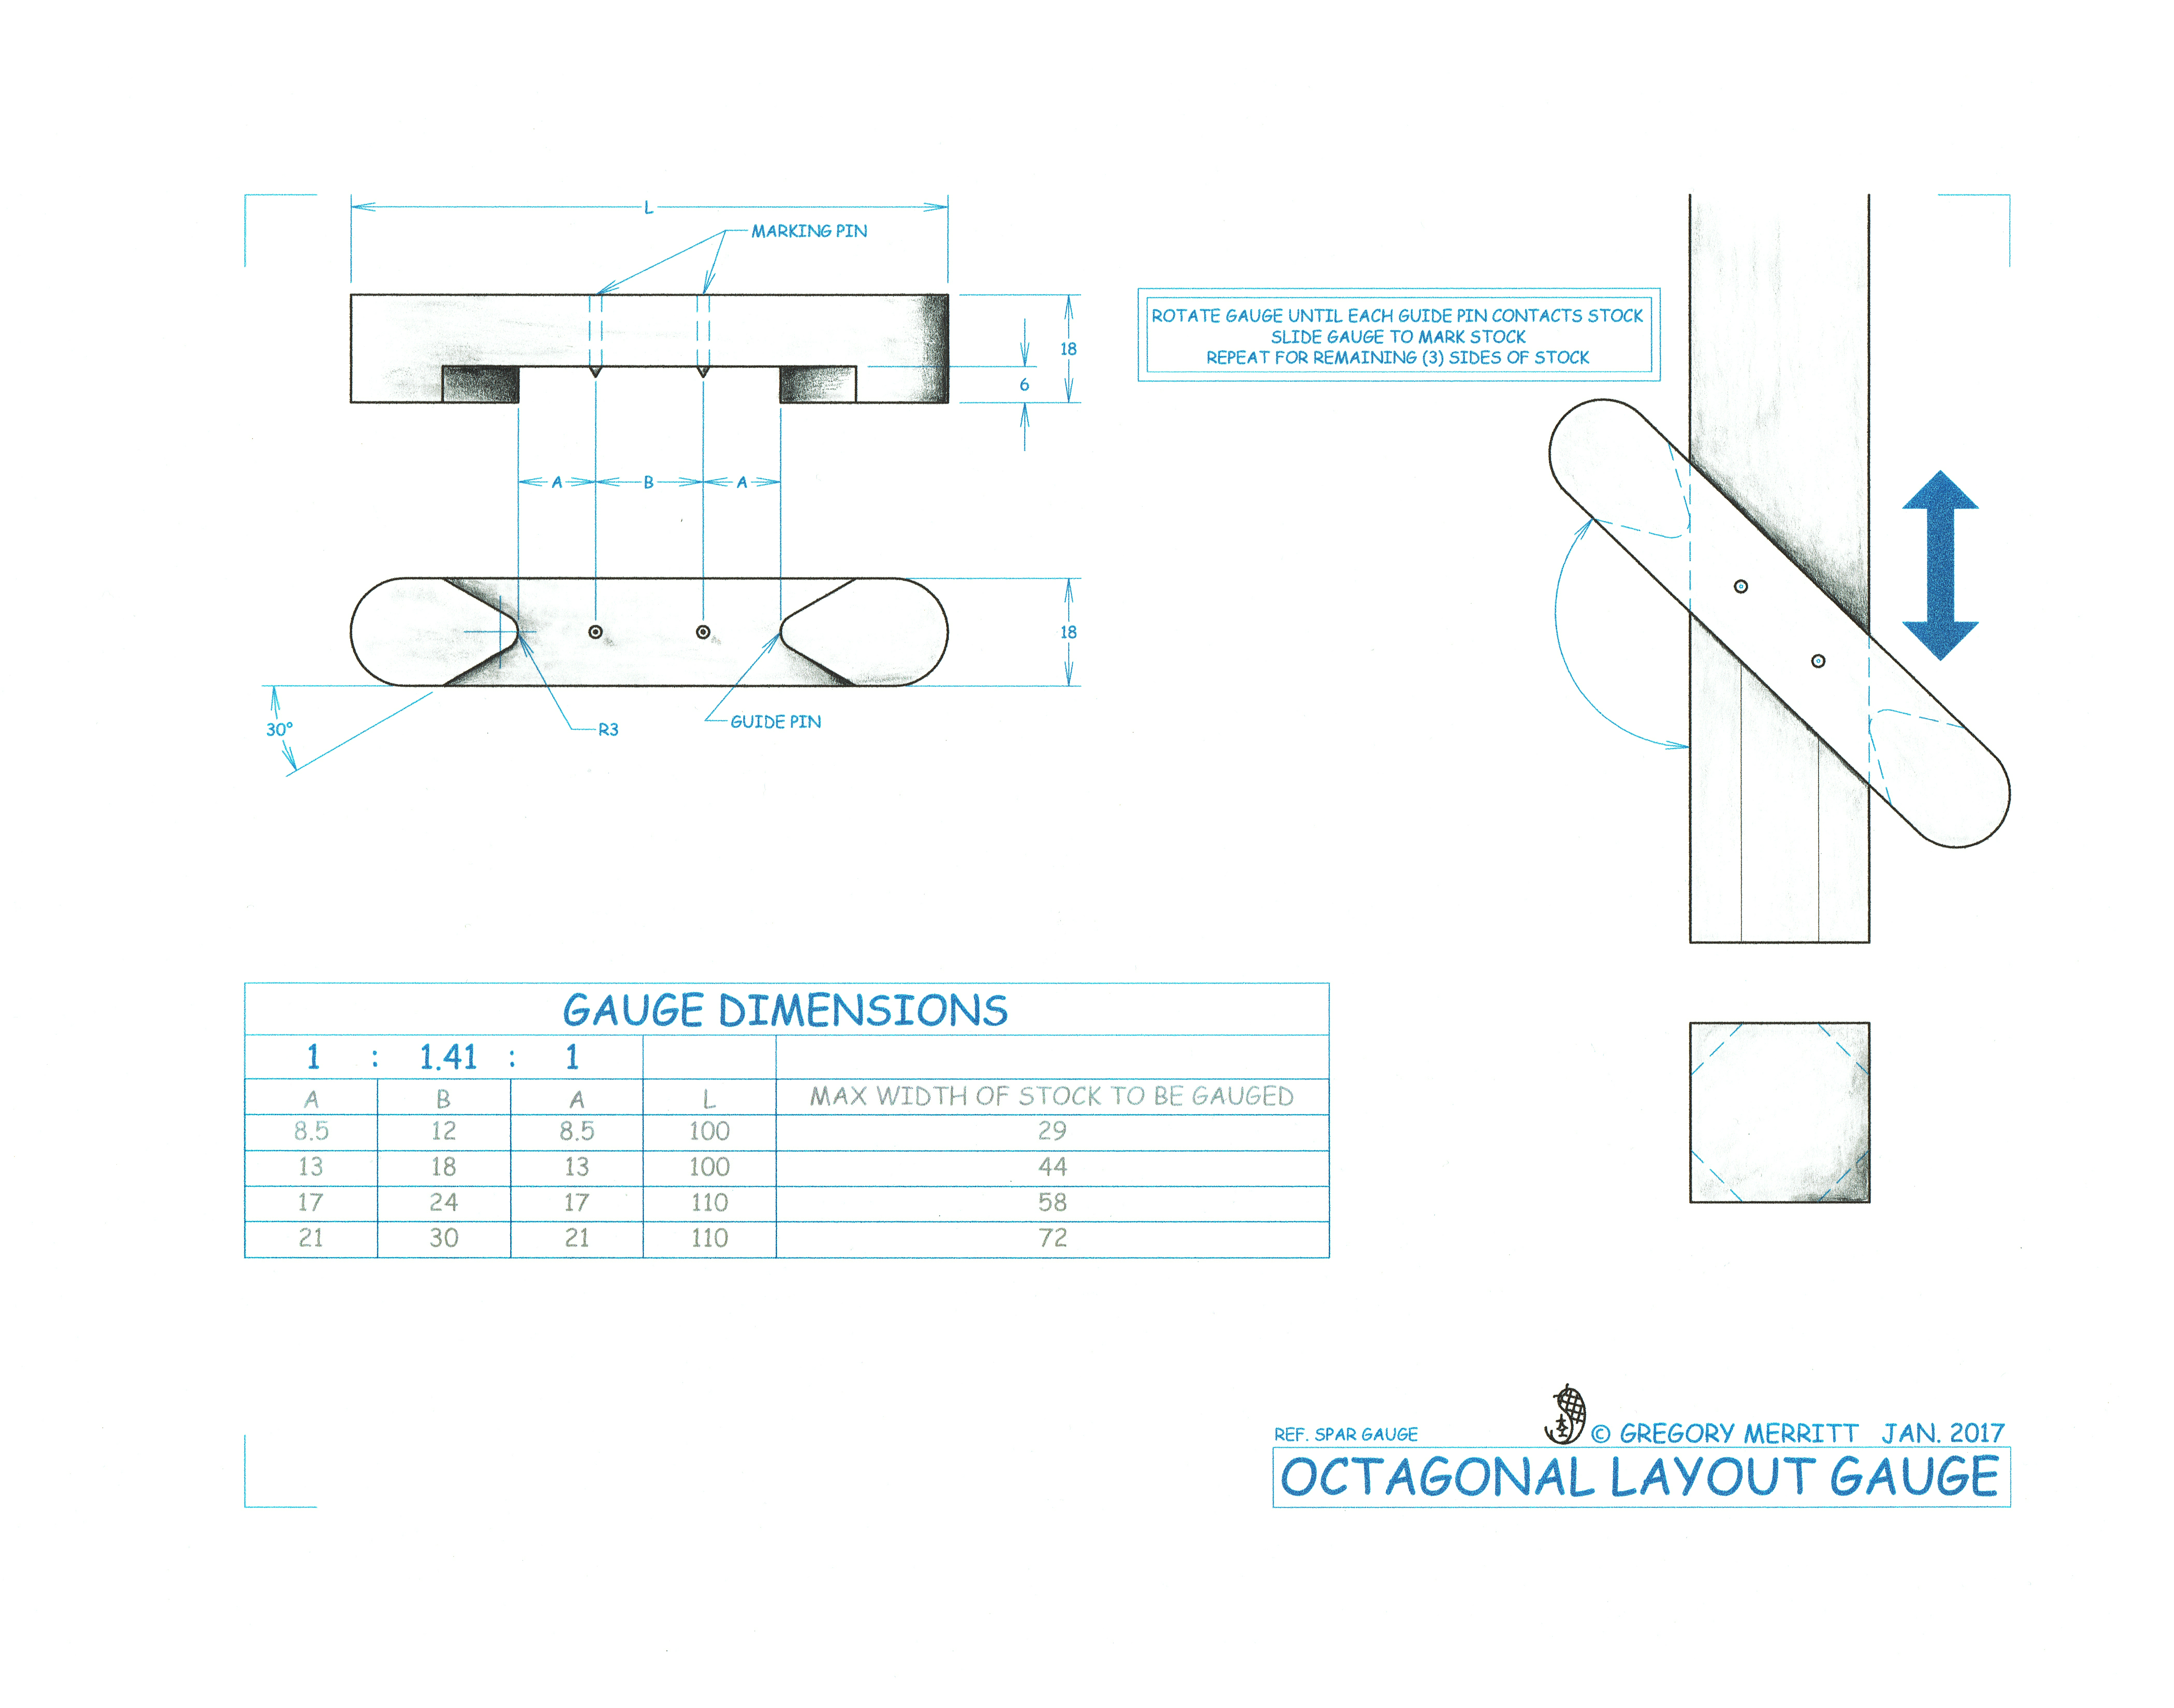
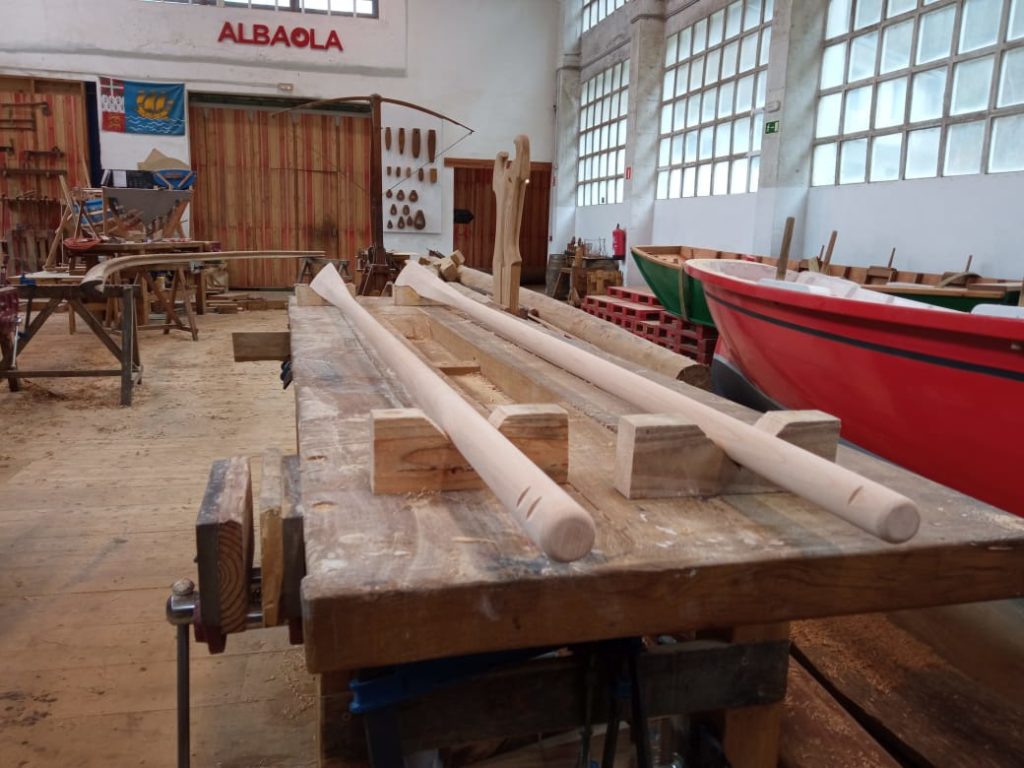
With the help of a spar gauge I had built my first year here in Albaola, we marked the looms and went from square, to octagonal, to 16-sided, to circular. Of course this involves a lot of planing, look at Ioanna loading a full wheelbarrow with a day’s worth of shavings!

In case you where wondering where I got them from, here are the plans for the spar gauge:

https://gregmerritt.files.wordpress.com/2018/02/octagonal_gauge-jan-2017.jpg

After some scraping and some more sanding with progressively higher grits (we went from 60 to 120, through 80 and 100), we marked the oars on the handle in the traditional way, in order to quickly distinguish which one goes forward and which aft.

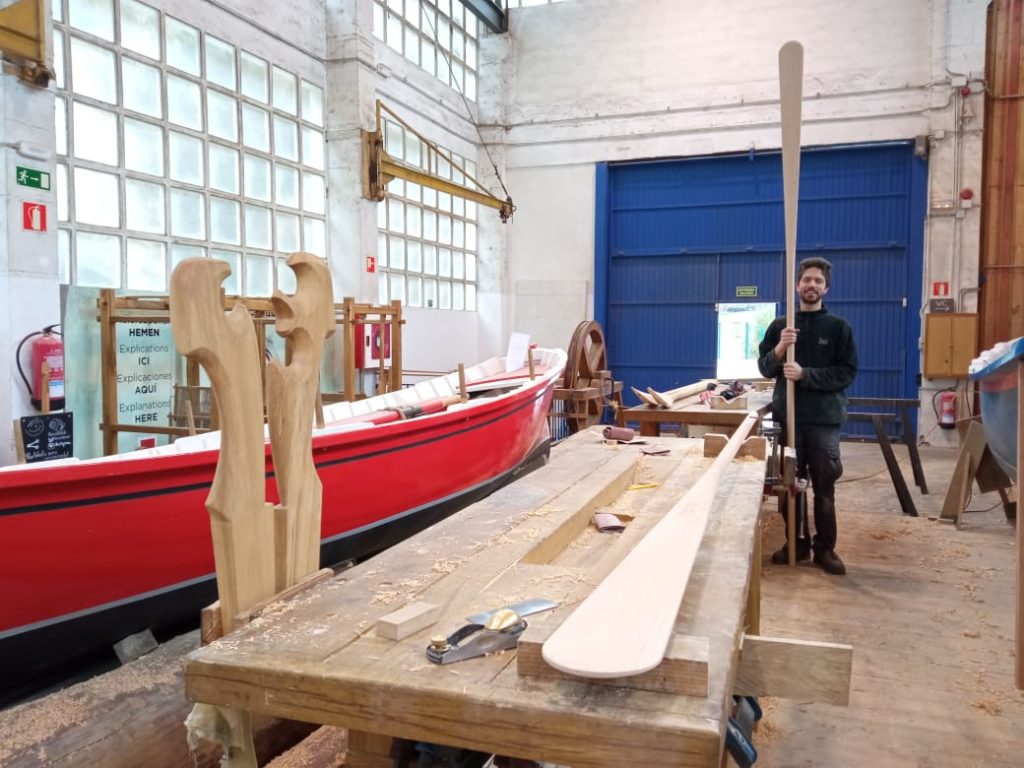
The whole process took us only a few days. As per the forcole, it took us less time than expected. Here you can see me enjoying my first alzaremi with the new oars.

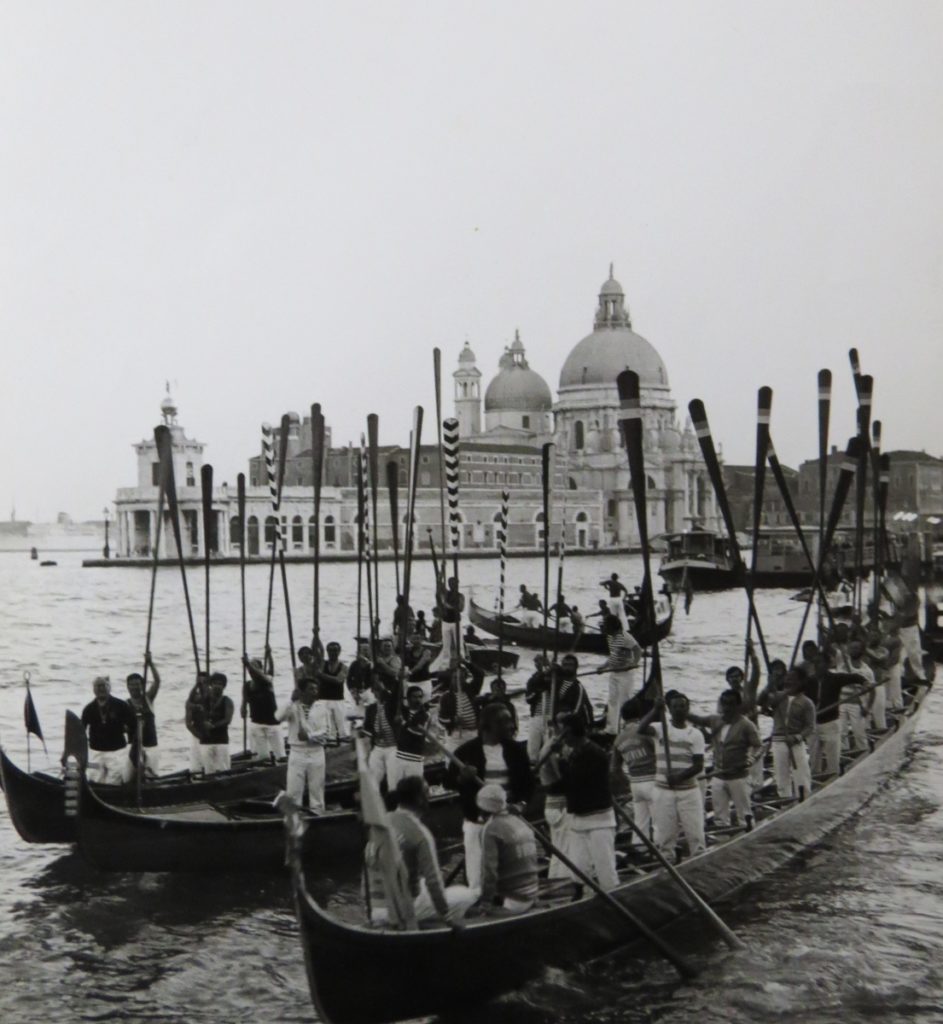
Alzaremi (literally “oar-lifting”) is the traditional salute at rowing events and regattas in Venice. I can’t wait to be able to properly do it on the boat!

https://www.bucintoro.org/foto-storiche/

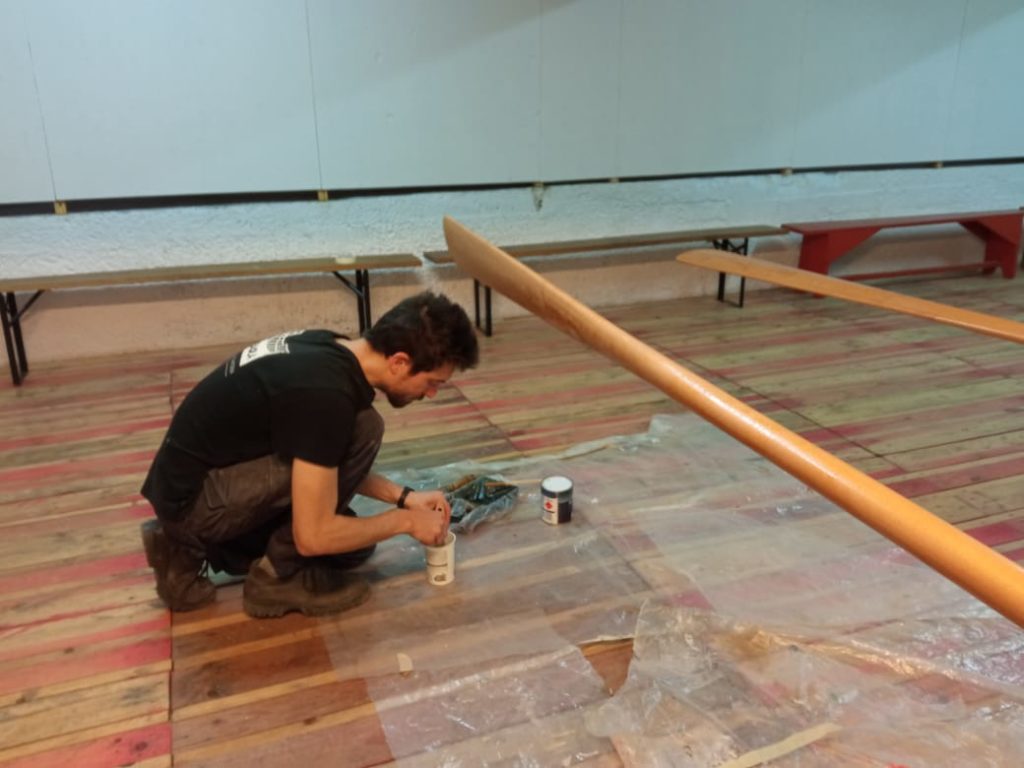
But we all know that an oar is not ready until it’s got oh so many coats of varnish. At the moment of writing, we only have three coats on, so this will go on for a while also next week…

Next month there will be a press conference to present the s’ciopon, so Ioanna an I are working hard to get started as soon as possible. We have begun assembling the cantier, i.e. the strongback onto which the boat is built. More on that next week.

UPDATE:

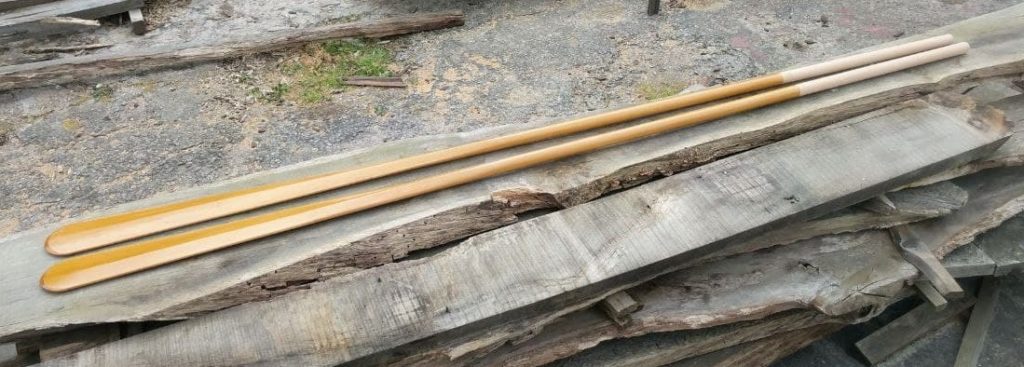
After a few coats of varnish, here they are in all their beauty!
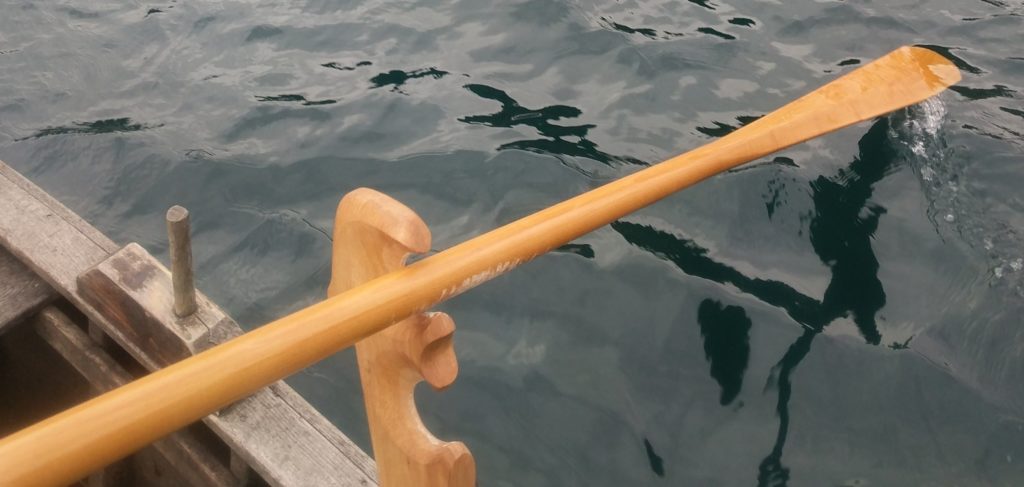
Aaaaand the varnish’s ruined.
(note the “tolete”, the Basque oarlock, on this boat we borrowed for a sea-trial)

Building a traditional Venetian boat in the Basque Country /2

It’s officially started!

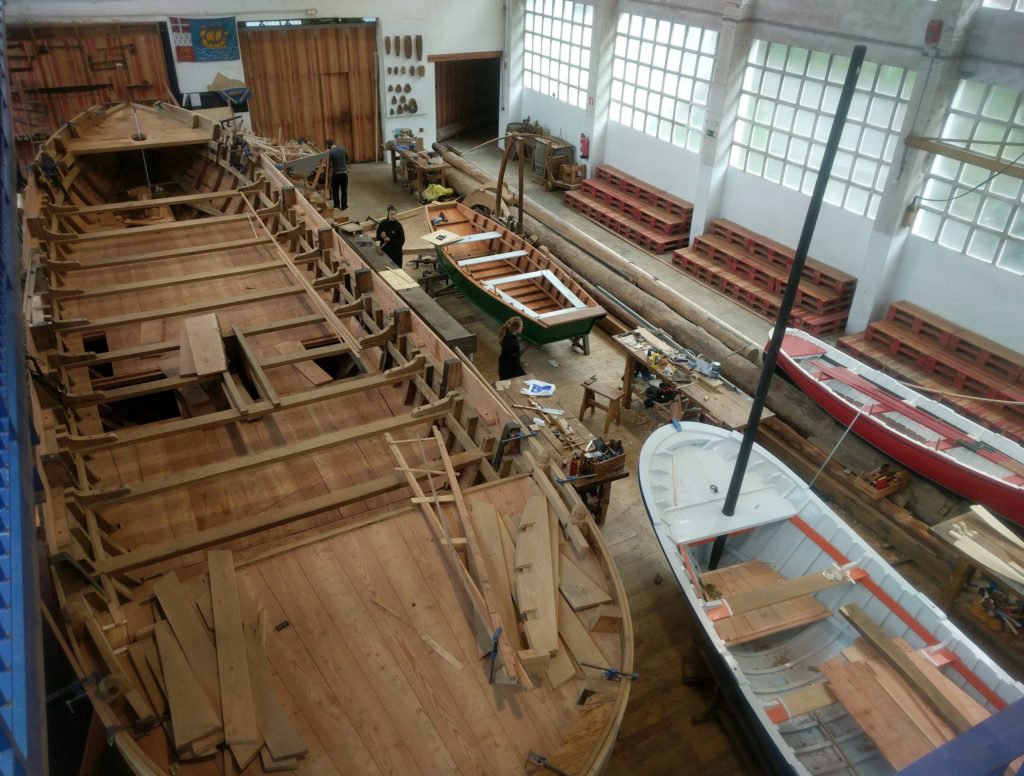
Well, not the boat herself actually. In fact, the workshop is so crammed with boats at the moment, that we cannot yet start installing the strongback for our sandolo.

This was the situation last week: you can see why we would like to wait for the patatxe (pictured on the left) to be launched…

But we started nonetheless, deciding to make a couple of forcolas, the typical Venetian oarlocks.

Piero Dri is one of the only four artisans professionally making forcolas in Venice (and therefore worldwide!)
https://www.youtube.com/watch?v=e3rb7AGI5Cc

The idea is to have them ready before the boat is, together with a pair of slender oars. This way, I will have the time to teach whoever of my colleagues might be interested in learning how to row the Venetian way. It’s not as easy as it might seem, more on that in a future post!

Usually, a forcola is made of walnut, or a similarly dense and hard wood, such as pear or cherry. But we are on a budget and we found a piece of chestnut lying around the workshop. We decided to “acquire” it and give it a go. We’ll see how it goes.

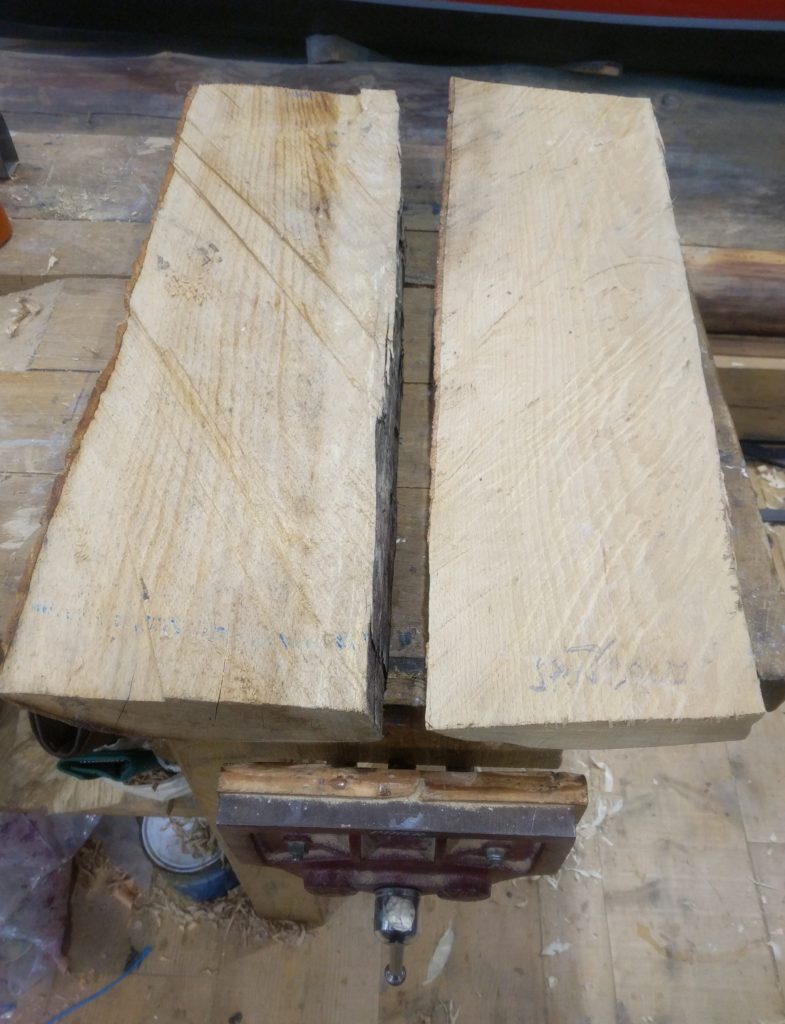
Here are the first steps of the process, but hey: wait a moment, that’s not chestnut…

In fact, Ioanna and I were a little afraid of trying out our sculpting skills on the one and only chestnut plank we have. Also, who has had some experience with forcolas knows how easily their tips break when rowed badly. Not a good idea to have rowing classes with the fancy ones!

At the end, we decided to make a “trial version” out of beech, to use as training forcolas. I love the color of beech, and the carving is so crisp!

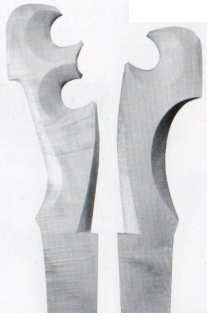
We started from this image, taken from Gilberto Penzo’s book on forcole: http://www.veniceboats.com/it-pubblicazioni-catalogo-libri-forcole.htm

After having chosen a picture of a pair of forcole made by Saverio Pastor, we scanned and enlarged the image until it was to scale with the measurements we got from some Venetian friends (thanks Alice and Nicolò).

We then printed this out and used it to cut a couple of plywood patterns, much more durable than paper in the harsh workshop conditions. We are gonna use these again with the chestnut in due time.

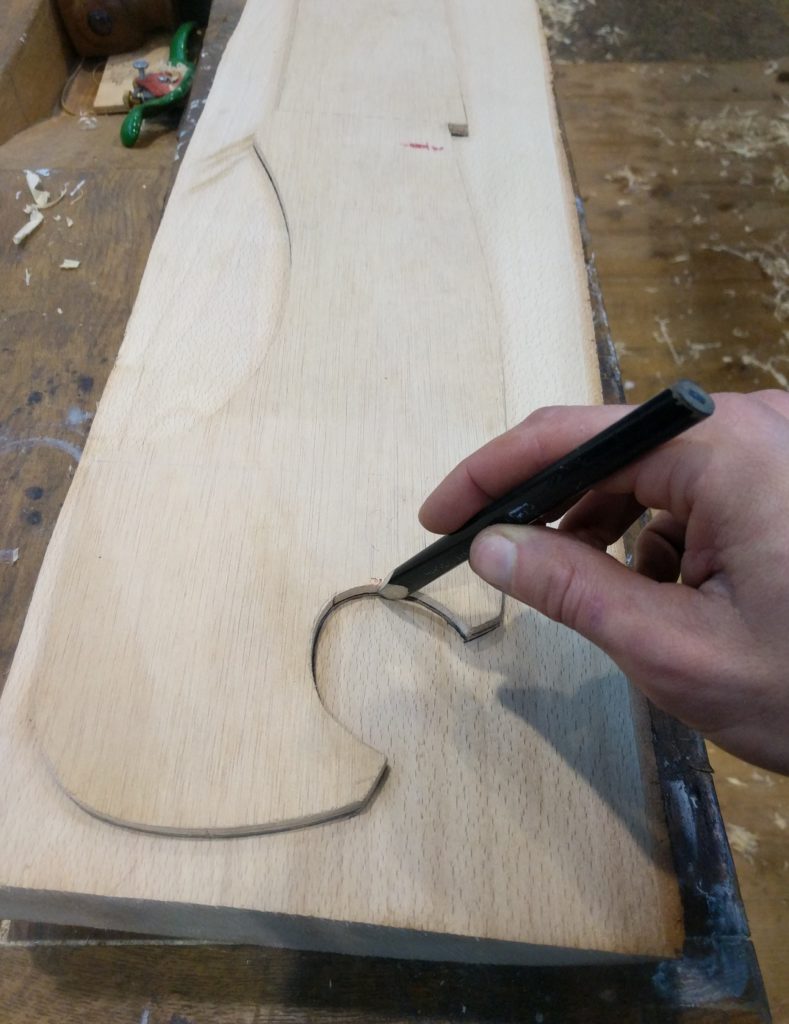
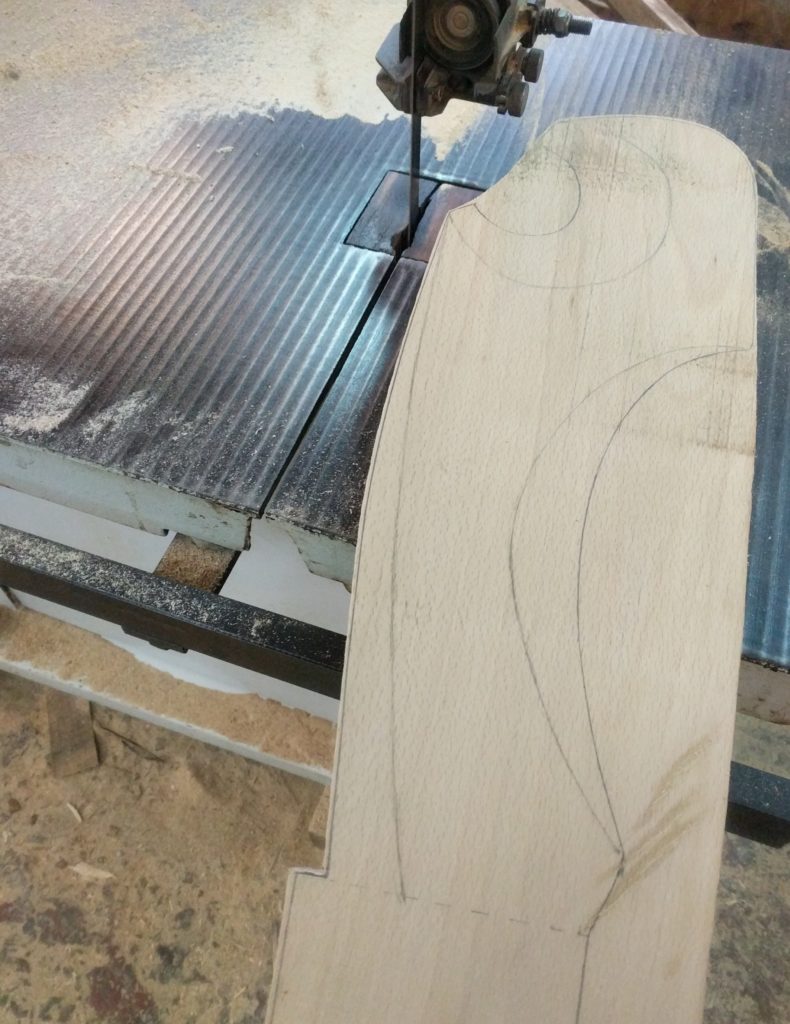
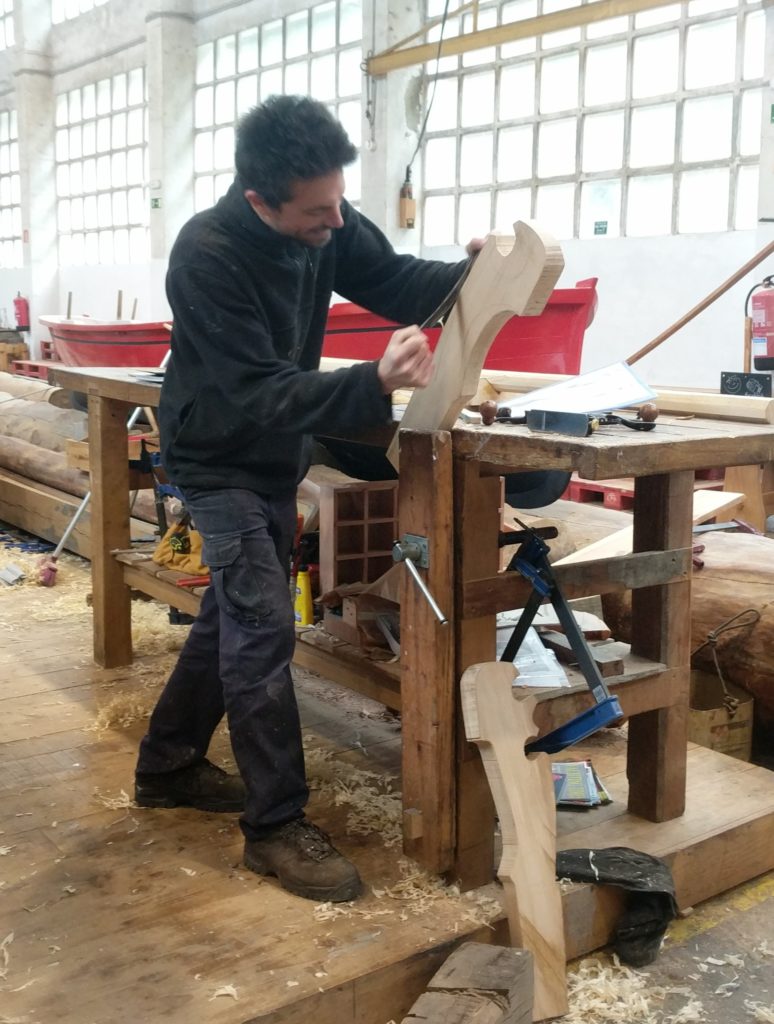
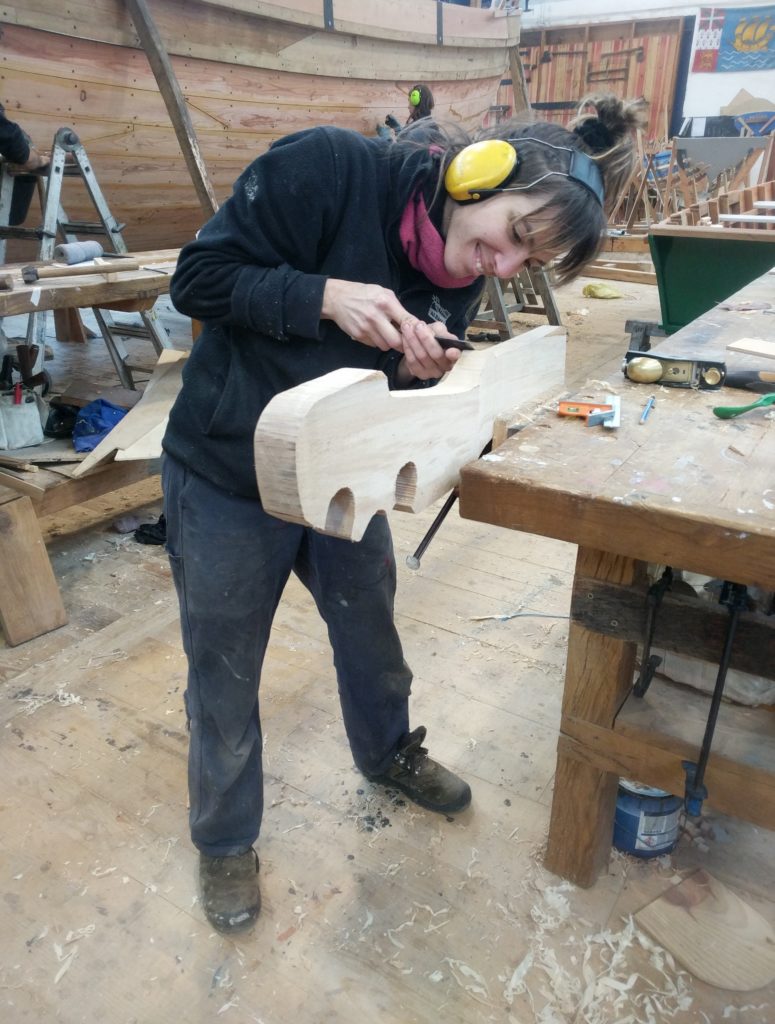
After tracing the outline on our pieces of wood, we cut the outer profile with the bandsaw and then went on shaping the forcolas by hand.

As you could see in the video of Piero Dri above, this phase traditionally only involves the use of a drawknife. Not having one with the right dimensions though, we resorted to a mix of drawknife, spokeshave, chisel/gauge and mallet, blockplane, and even a rasp for a couple of hard-to-reach spots.

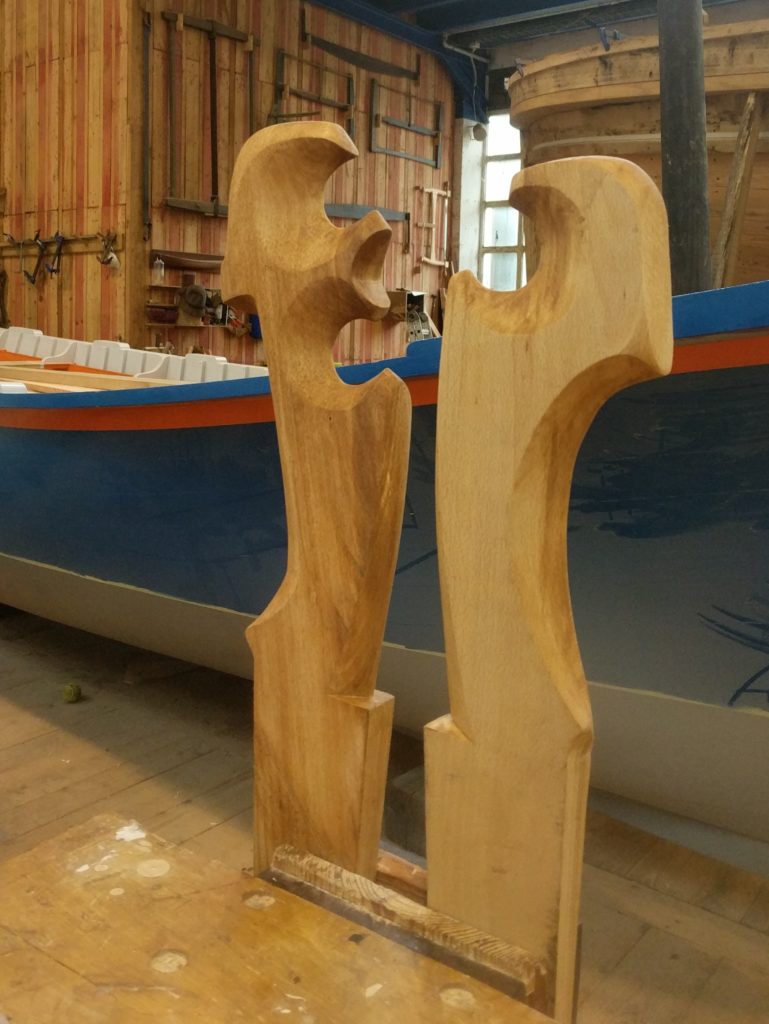
After some live help from Piero and others coming from Instagram and Telegram, we finally made it. They are certainly not perfect but I must say they don’t look too bad. And you should consider that Ioanna had never even seen one before making hers.

They lost their nice white color after a dip in Danish oil

Next week we will be looking at the oars. I have the feeling that it’s not gonna be easy either.

You can find some leaks from the work in progress on our Instagram profiles along the week, follow us in case you can’t wait!

@acqua_stanca
@io_moutou

Building a traditional Venetian boat in the Basque Country /1

Having begun my third and last year of apprenticeship here at Albaola (http://www.albaola.com/en/site/boatbuilding-school), I was feeling confident enough to present a project for the construction of a Venetian boat.

Venetian boats are the reason why I started this formation in the first place, therefore it seemed like the right thing to do to build one while here. Also, it would be nice to share a piece of Italian maritime culture with the other apprentices and shipwrights working with me, and teach some Basques how to row the Venetian way (standing and facing forward).

What is a sandolo s’ciopon?

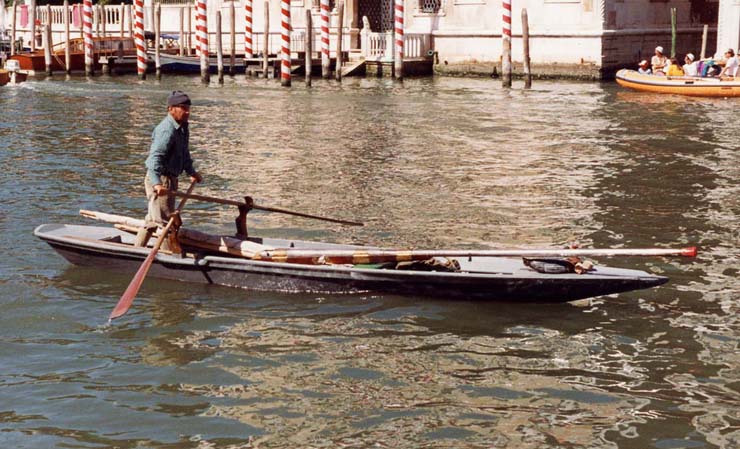
A s’ciopon as seen in 1992 during the Regata Storica, Venice

The tiniest member of the sandolo family, the s’ciopon is usually between 5 and 6 meters long, with a beam of a little over 1 meter, and only some thirty centimeter above the waterline. Having a flat bottom, just like any other boat of Venice, it draws a few centimeters of water. It is therefore perfectly adapted to its enviroment and purpose: duck hunting in the open lagoon, with its shallow waters.

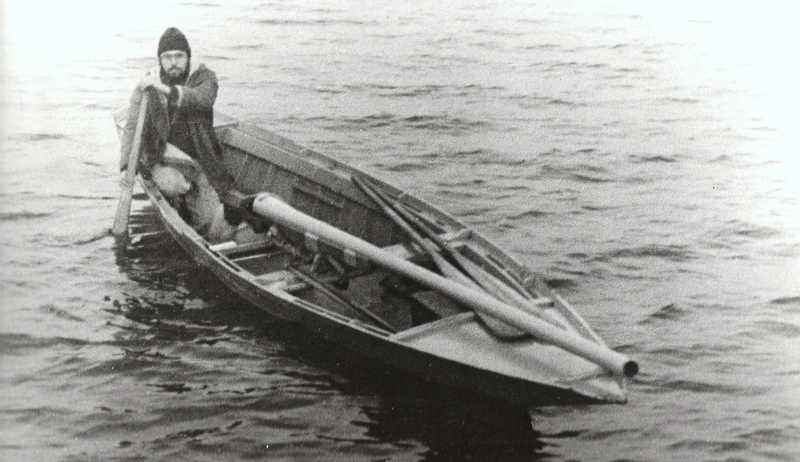
Small and light, it is usually rowed as shown in the picture above, with crossed oars, i.e. alla vallesana. It might anyway as well carry two rowers, in which case one would row at the bow on port side, while the other aft, on starboard. A single-oared “gondolier” aft also would do.

When approaching the hunting ground, the rower would crouch on the floor and keep the boat moving thanks to the palina, a paddle with leaded end. The washboard would often be reduced right near the aft rowing area, specifically for this reason.

The oarlocks (forcole) have been removed as well

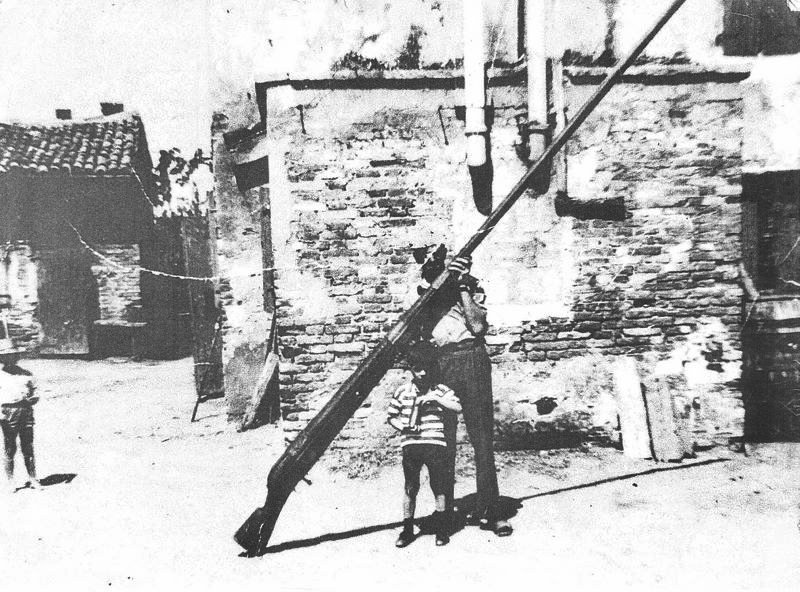
As can be easily noticed, the main feature of this boat, however, is the huge gun (s’ciopo), from which the boat itself takes the name. Up to three meters long, it would normally be a cal. 75 loaded with lead projectiles and aimed point-blank to duck flocks.

In this picture you can appreciate the sheer size of it

Duck hunting in the lagoon of Venice was banned in the ’70s, so that not many s’cioponi are built nowadays. Some, however, still are and others have been restored and converted to leisure skiffs, sometimes even mounting a small rudder and sail.

http://www.velaalterzo.com/wp-content/uploads/2018/10/Lustrissimo.jpg

Why a sandolo s’ciopon?

Since I have never built a Venetian boat before, I decided to start humble and begin with the very simplest design available.

The construction method is the same for all small boats in Venice, such as for example the gondola or the topo, but this boat is stripped down of everything unnecessary and reduced to the bare minimum: it’s a simple boat that simply does its job. I will cover in depth the construction during the following weeks as we go along with the built (spoiler alert: we’ll start by making oarlocks and oars).

https://www.forcole.com/it-catalogo.html

Building a small boat also means being able to do it faster and with fewer people involved: we plan to finish in a couple months, and by “we” I mean me and Ioanna, a fellow apprentice. You might follow her on Instagram here: https://www.instagram.com/io_moutou/ (she’ll probably post some pictures of the work as well).

Last but not least, using less wood means the project will be cheap, and who doesn’t like cheap?