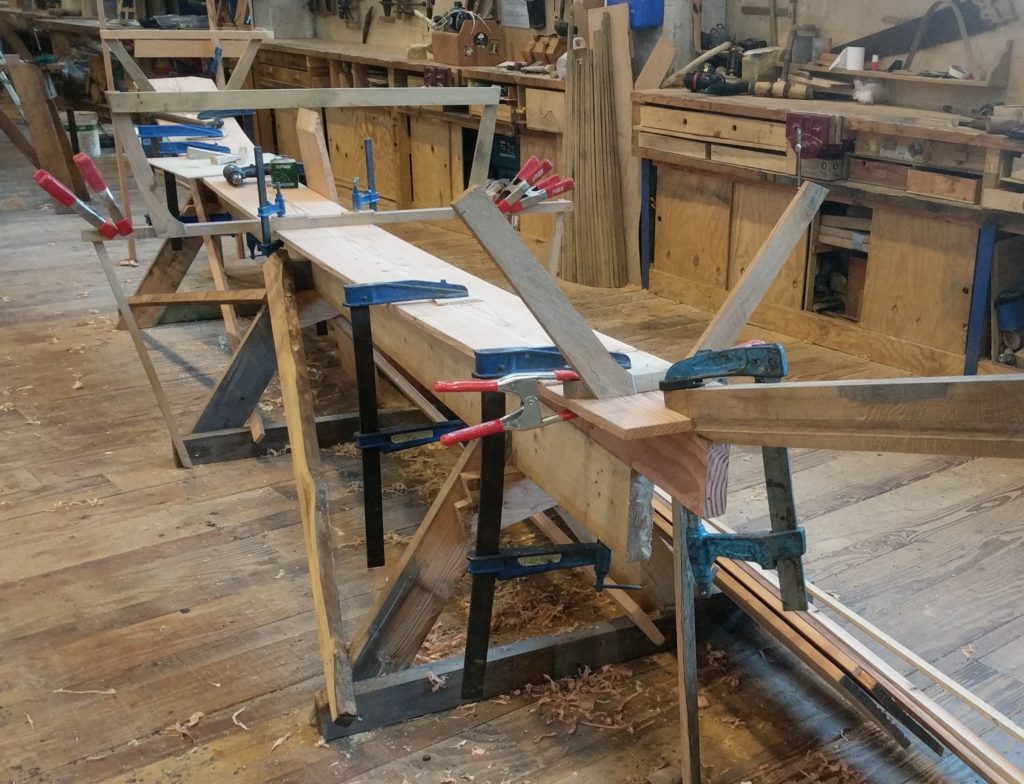
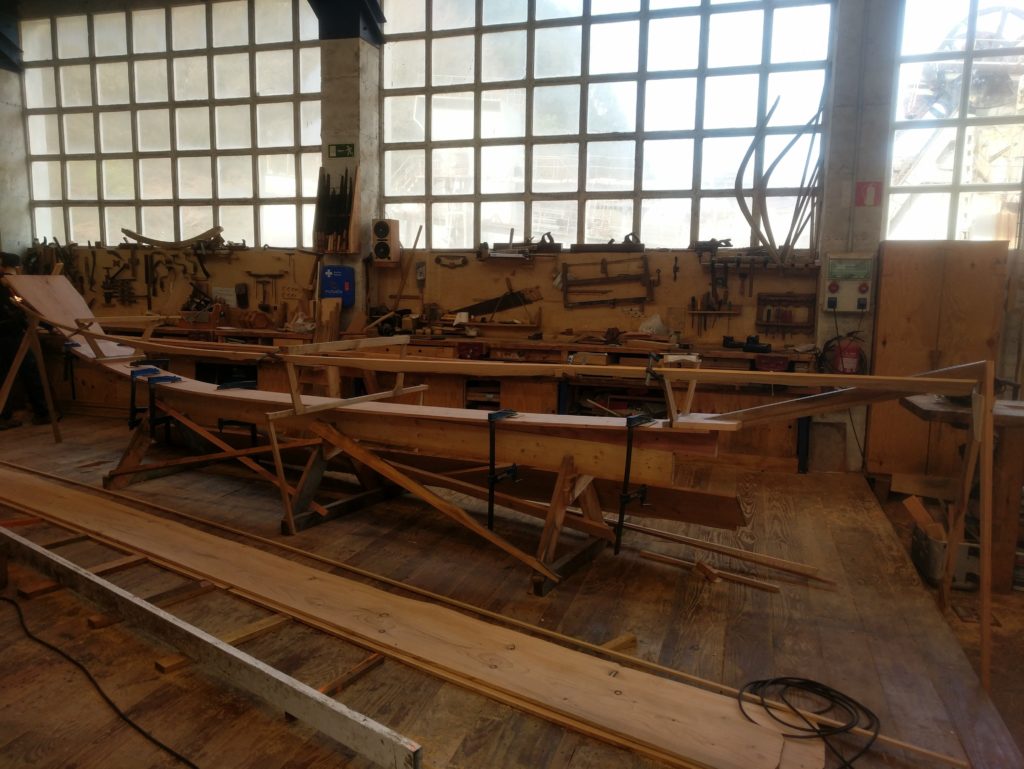
At last, the patatxe has been moved, and Ioanna and I were finally able to fasten our cantier (the strongback) and start building the sandolo for real. The countdown has officially started: let’s see how long will it take us to finish it.
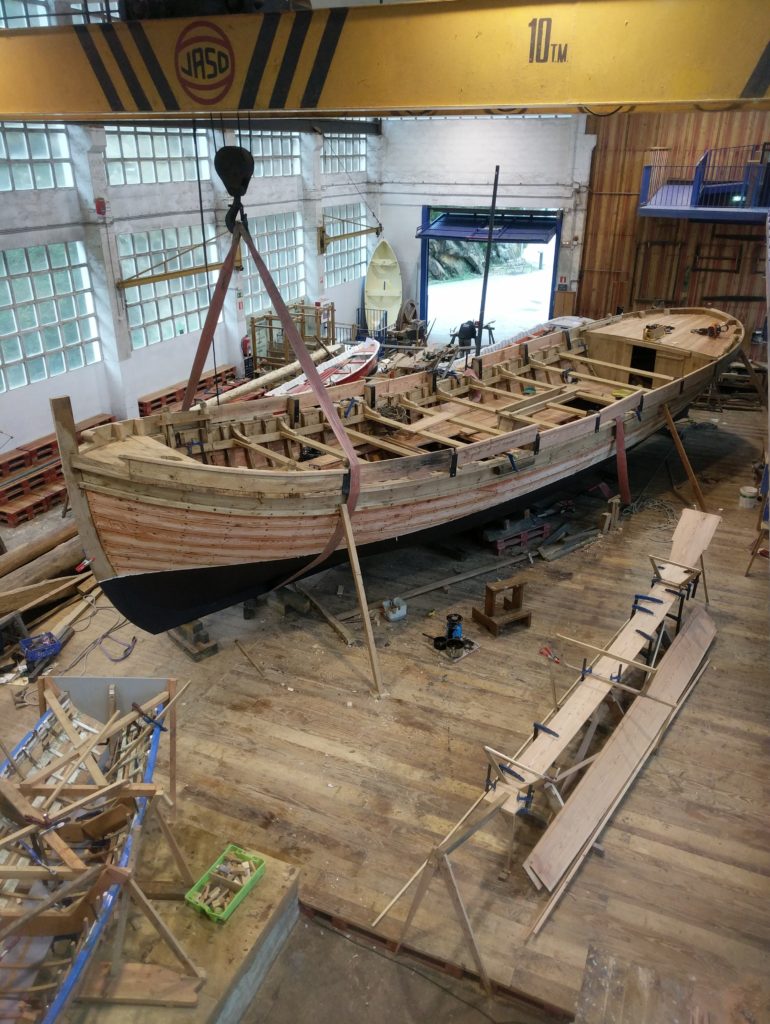
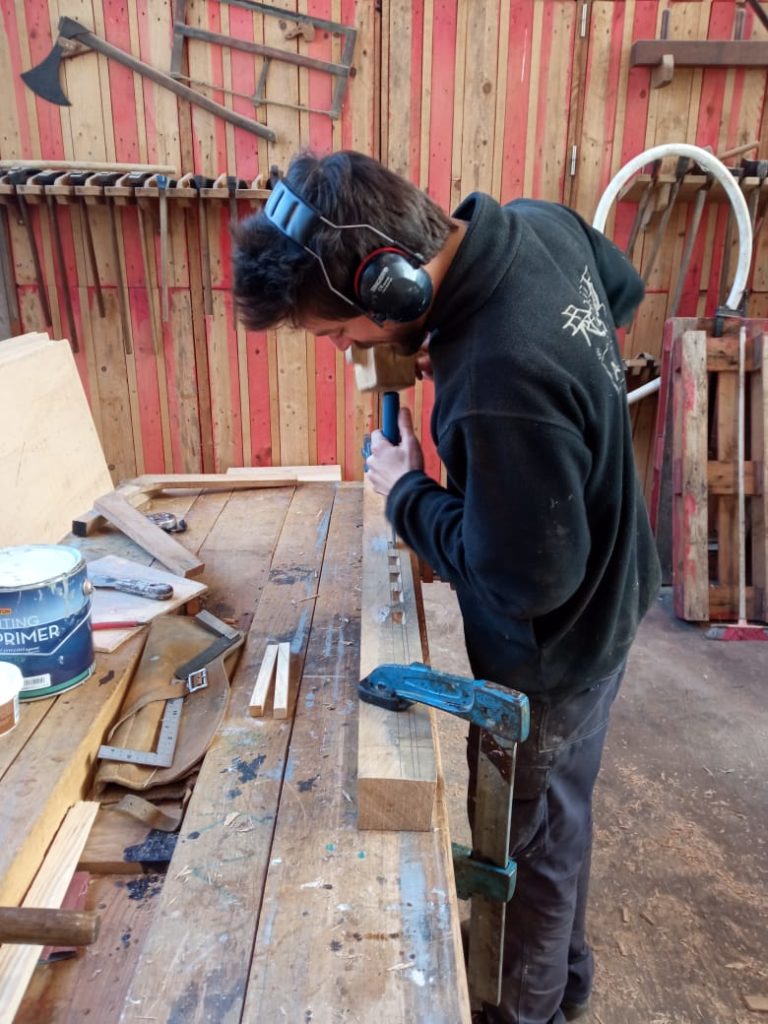
After marking the colomba (keel-plank) with a centerline and all the frame stations, and making sure it sits level across on the whole length of the cantier, I embarked in the task of fitting the stem, while Ioanna did the same with the transom.
We chose oak for the stem because we have plenty available (a luxury we will miss after we leave the Aprendiztegi, I am sure). We didn’t have any wide oak offcuts to use as transom, so we went with larch, which would be the traditional wood choice in Venice, anyways.
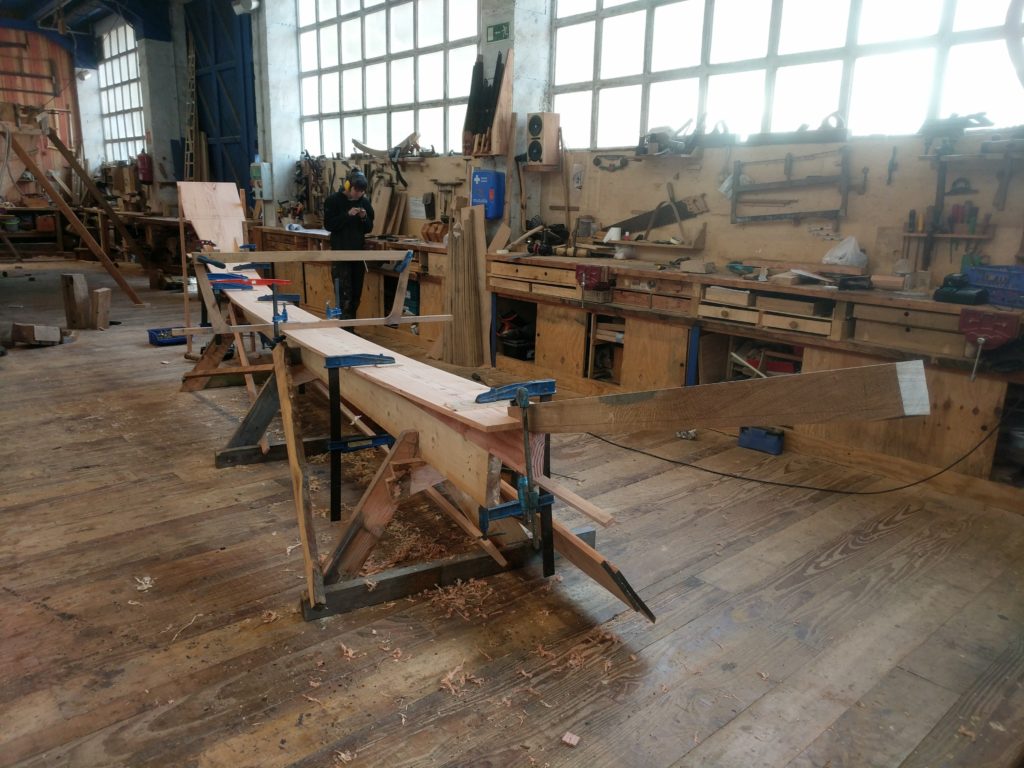
With the help of a couple battens, I traced the lines of the rabbet on the stem, and carved it with a chisel. I wasn’t really sure of the shape it would have, but it turns out it is basically a straight line. Now, that’s convenient. I left some extra material in there, you never know: we’ll probably have to adjust the bevel slightly eventually.
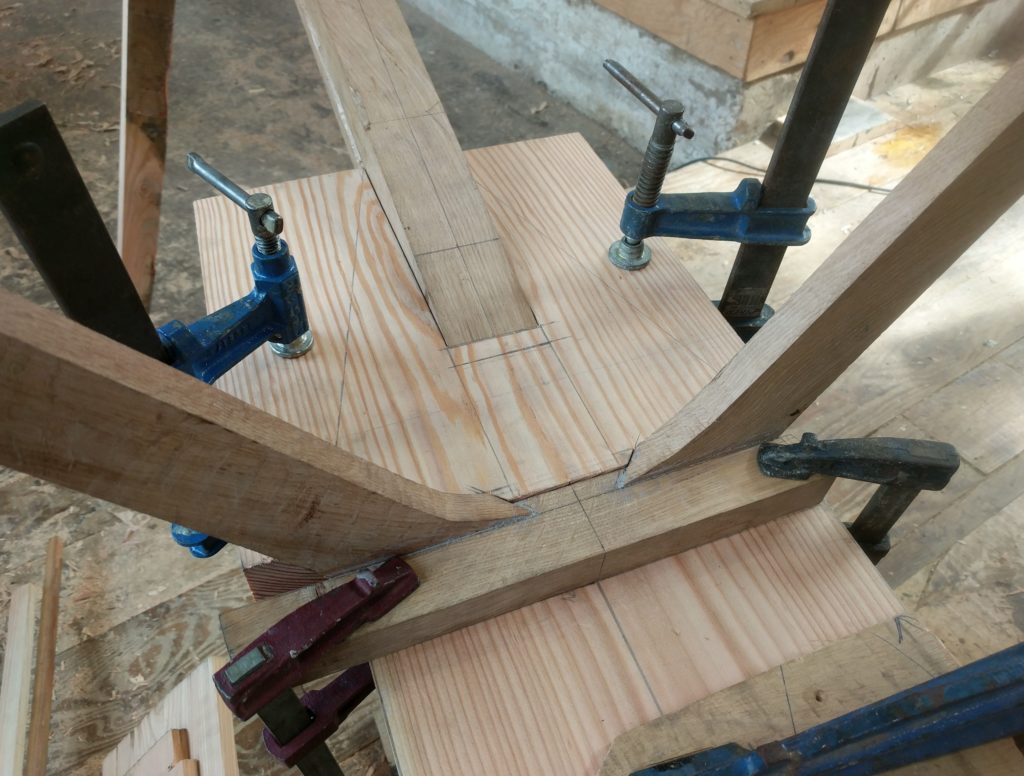
Since we are actually copying an existing s’ciopon, of which we have the exact measurements, we decided to add and extra step to the traditional construction method and place the first and last frames as well, in order to get a more precise idea of the shape of the boat and, most importantly, height of the sheer.
Once the frames were in place, the following step has been fitting two filler blocks. These have a triple function:
- they give some extra material for the nails to bite into (In these small portions of the boat converge all the side and bottom planks, with their fastenings);
- they help connect transom and stem to the keel plank (more nails);
- they displace water that would otherwise collect into the bilge, in places under the aft and fore decks, i.e. not always easy to bail and with lack of air circulation = prone to rot.
Bow 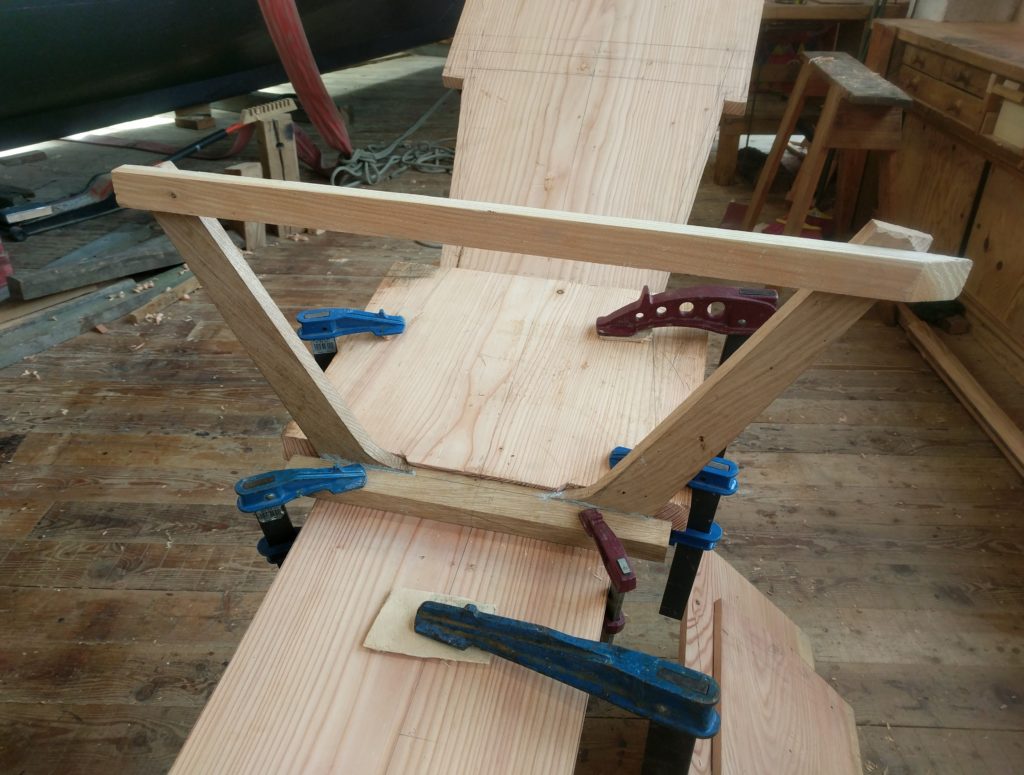
Stern
Once we had everything fitted, we bedded the parts with a mix of linseed-oil based putty and primer (and some blood, because accidents happen). We then nailed everything into place and we were ready for the next step: hanging the sheer planks.
Well, first of all we actually had to go and find suitable planks. Our larch stock is only six meter long, so we considered scarfing two planks together in order to reach the 6,30m (more or less) we needed. But luckily, someone remembered of a pile of cypress planks, which were the left over from a boat we had build in the school two years ago.
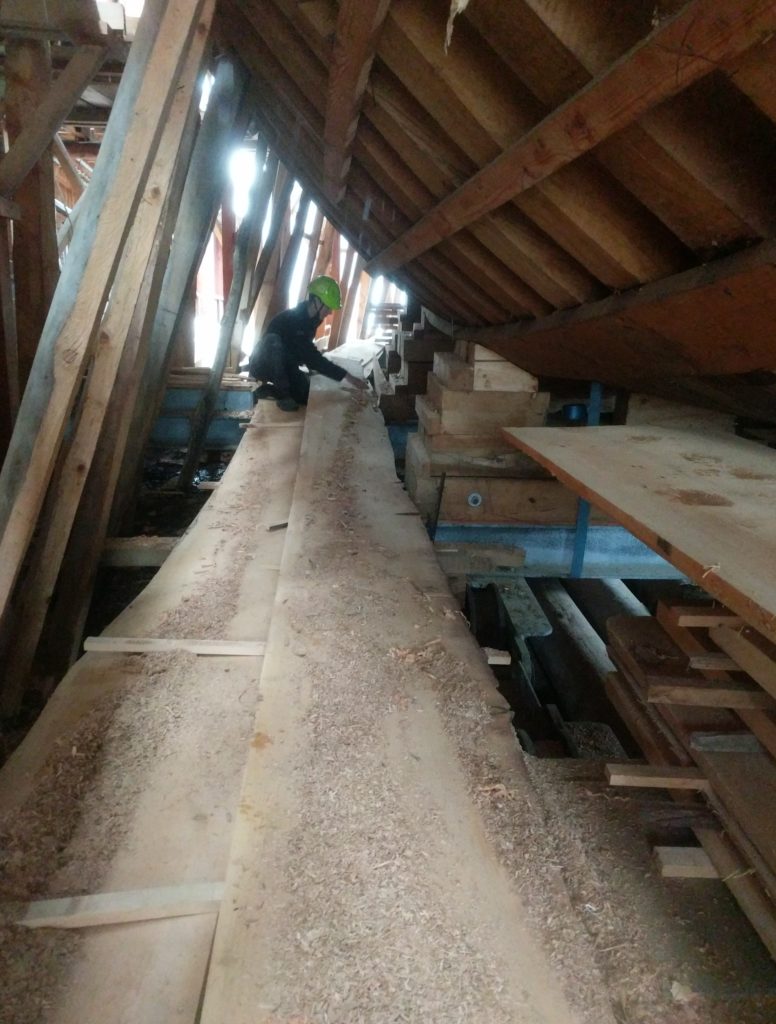
Obviously the planks that were left were full of dead knots and spikes, but since they are very wide and we only need planks of around 25cm width, we probably found something good enough for us.
The smell of cypress when you cut it is amazing!