It’s officially started!
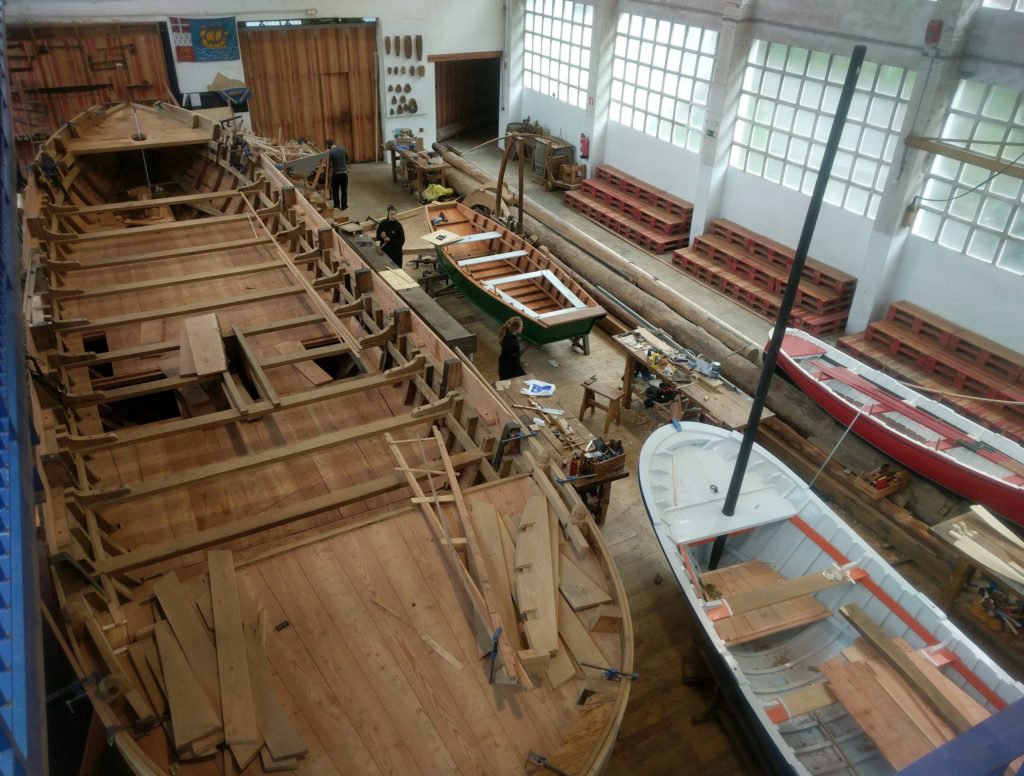
Well, not the boat herself actually. In fact, the workshop is so crammed with boats at the moment, that we cannot yet start installing the strongback for our sandolo.
But we started nonetheless, deciding to make a couple of forcolas, the typical Venetian oarlocks.
https://www.youtube.com/watch?v=e3rb7AGI5Cc
The idea is to have them ready before the boat is, together with a pair of slender oars. This way, I will have the time to teach whoever of my colleagues might be interested in learning how to row the Venetian way. It’s not as easy as it might seem, more on that in a future post!
Usually, a forcola is made of walnut, or a similarly dense and hard wood, such as pear or cherry. But we are on a budget and we found a piece of chestnut lying around the workshop. We decided to “acquire” it and give it a go. We’ll see how it goes.

Some beech (70x20x4cm) 
Tracing the lines from the ply pattern 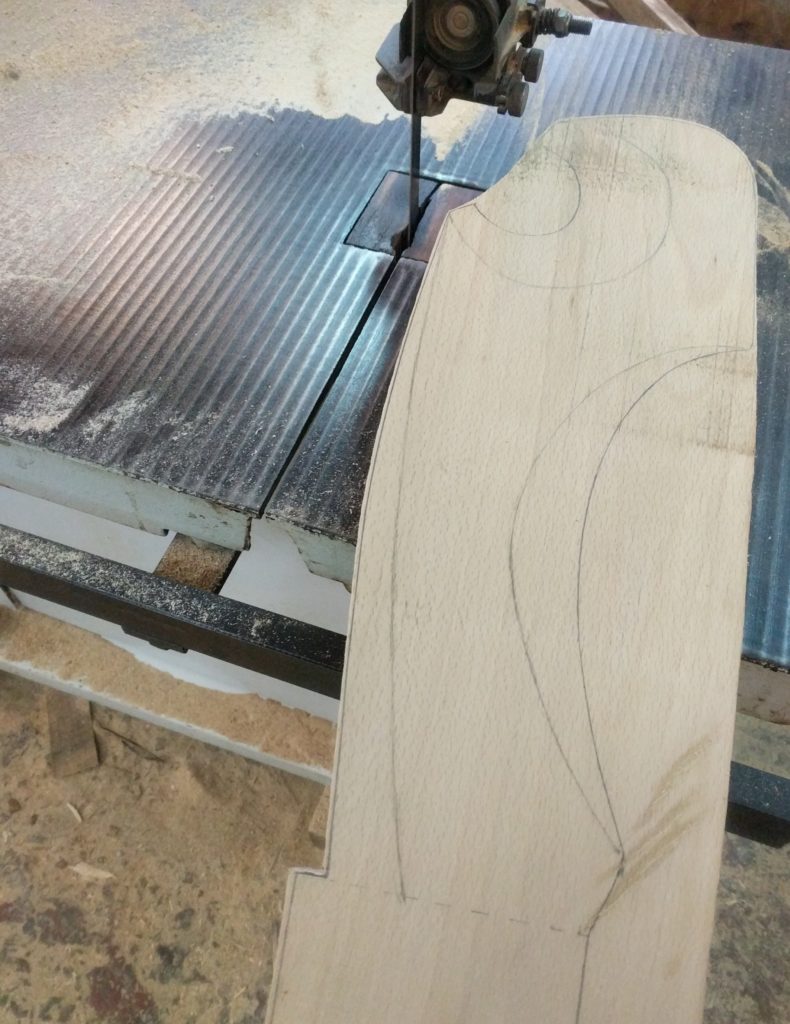
Cutting with the bandsaw
Here are the first steps of the process, but hey: wait a moment, that’s not chestnut…
In fact, Ioanna and I were a little afraid of trying out our sculpting skills on the one and only chestnut plank we have. Also, who has had some experience with forcolas knows how easily their tips break when rowed badly. Not a good idea to have rowing classes with the fancy ones!
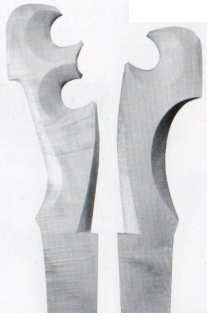
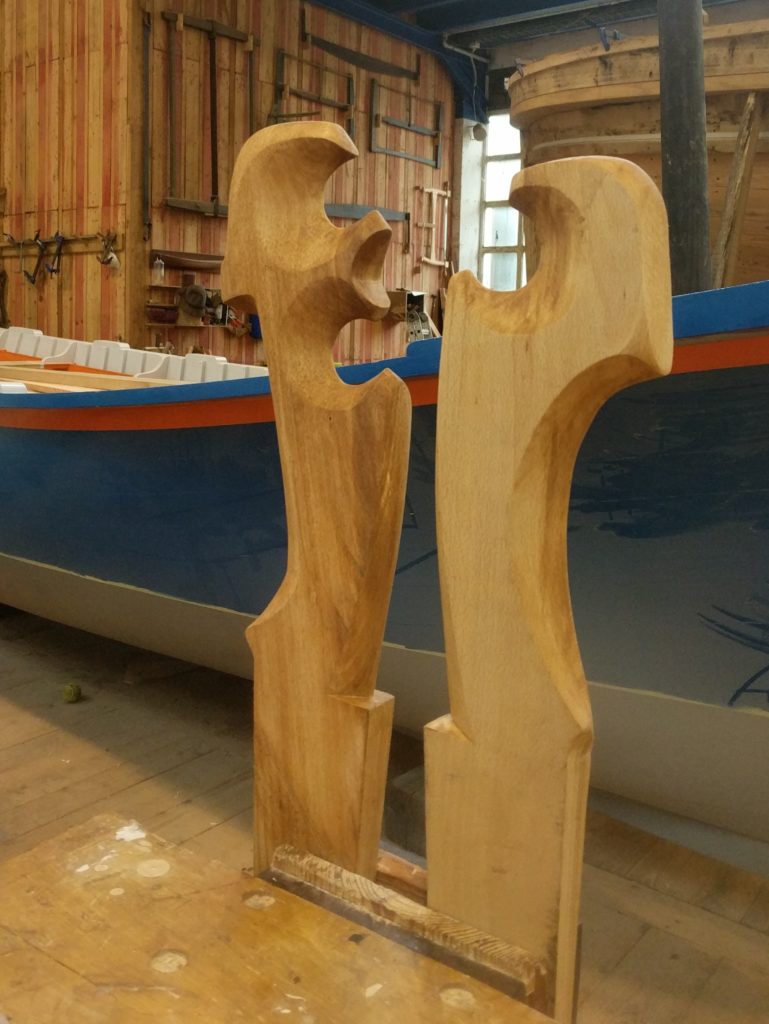
At the end, we decided to make a “trial version” out of beech, to use as training forcolas. I love the color of beech, and the carving is so crisp!
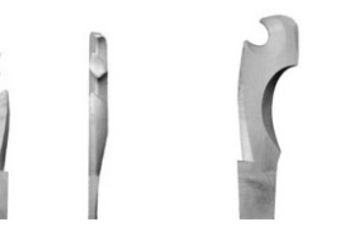
After having chosen a picture of a pair of forcole made by Saverio Pastor, we scanned and enlarged the image until it was to scale with the measurements we got from some Venetian friends (thanks Alice and Nicolò).
We then printed this out and used it to cut a couple of plywood patterns, much more durable than paper in the harsh workshop conditions. We are gonna use these again with the chestnut in due time.
After tracing the outline on our pieces of wood, we cut the outer profile with the bandsaw and then went on shaping the forcolas by hand.
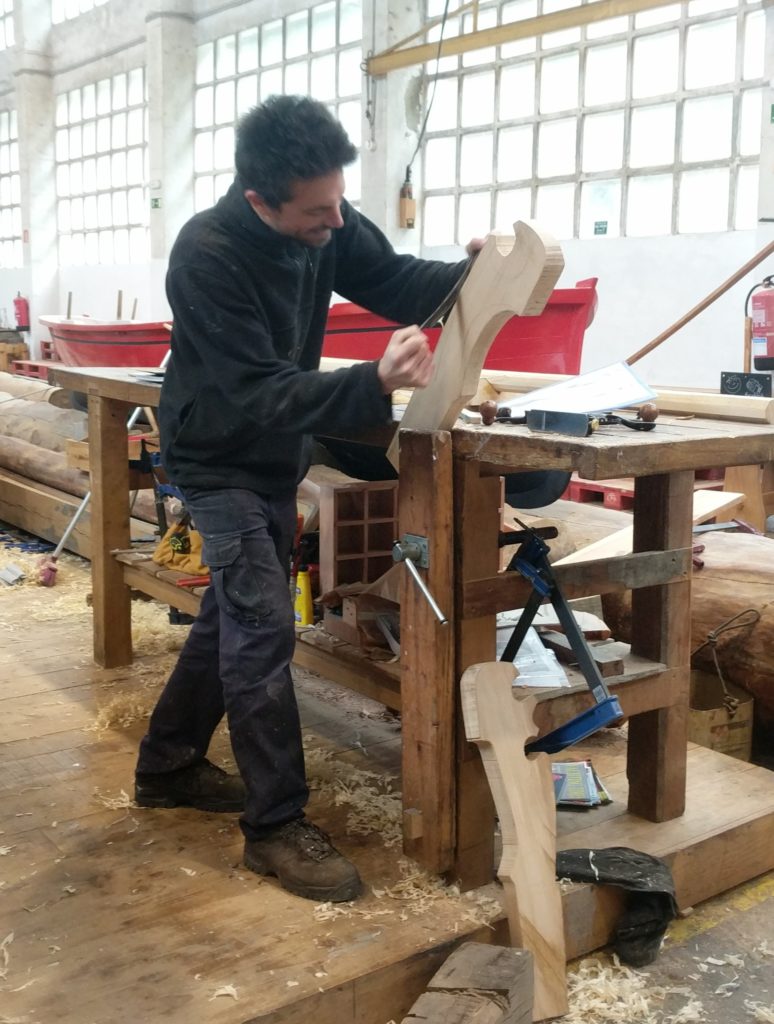
I got the forward one… 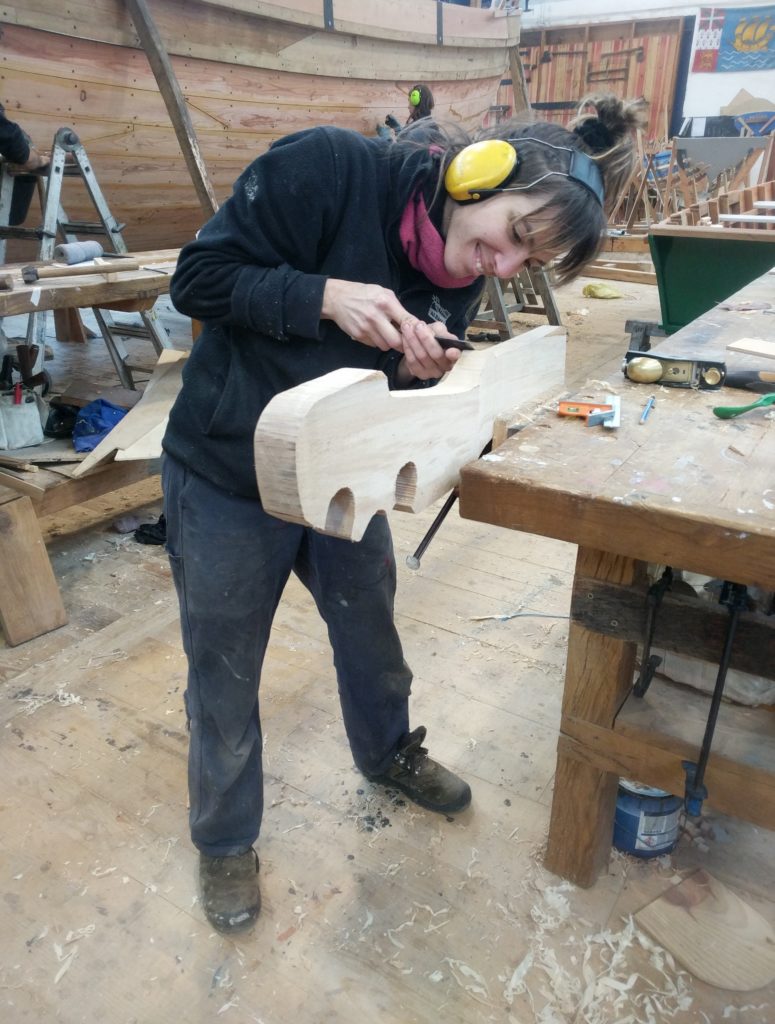
…and Ioanna the aft one
As you could see in the video of Piero Dri above, this phase traditionally only involves the use of a drawknife. Not having one with the right dimensions though, we resorted to a mix of drawknife, spokeshave, chisel/gauge and mallet, blockplane, and even a rasp for a couple of hard-to-reach spots.
After some live help from Piero and others coming from Instagram and Telegram, we finally made it. They are certainly not perfect but I must say they don’t look too bad. And you should consider that Ioanna had never even seen one before making hers.
Next week we will be looking at the oars. I have the feeling that it’s not gonna be easy either.
You can find some leaks from the work in progress on our Instagram profiles along the week, follow us in case you can’t wait!